
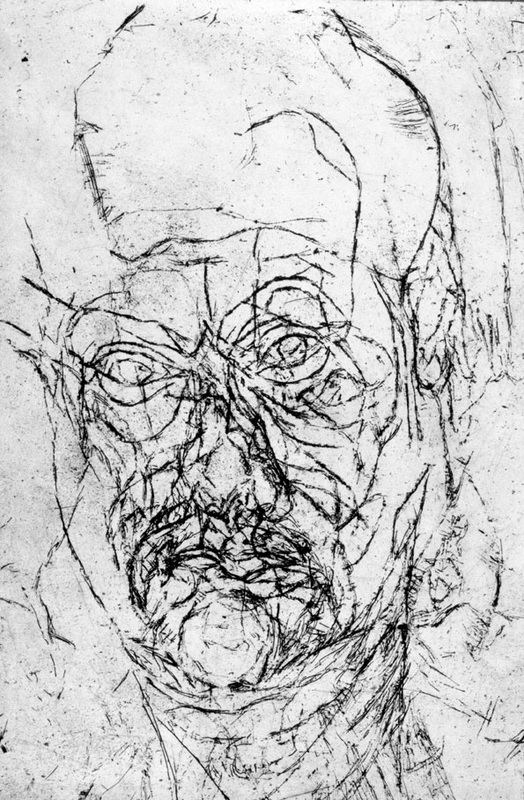
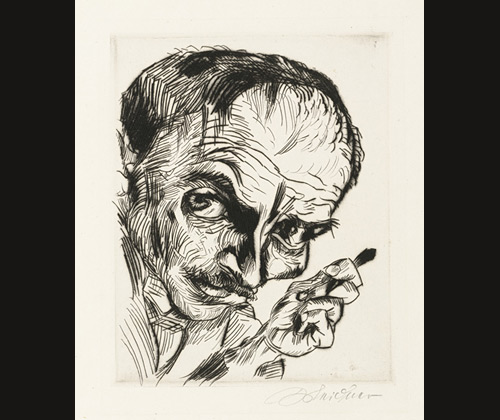
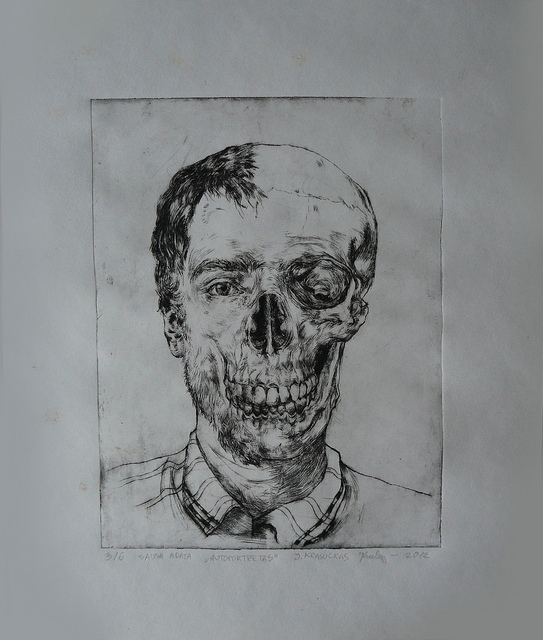
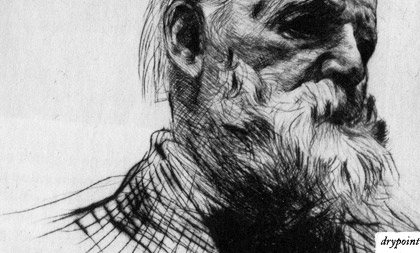
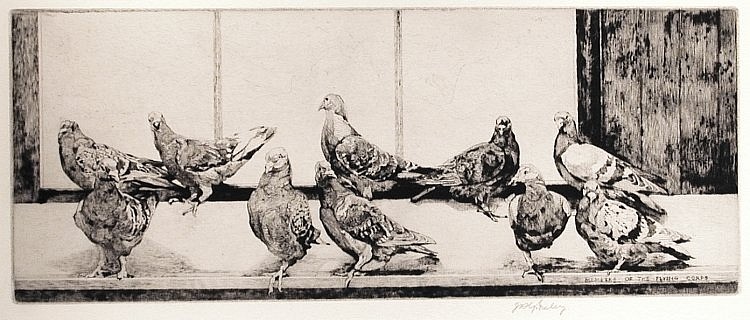
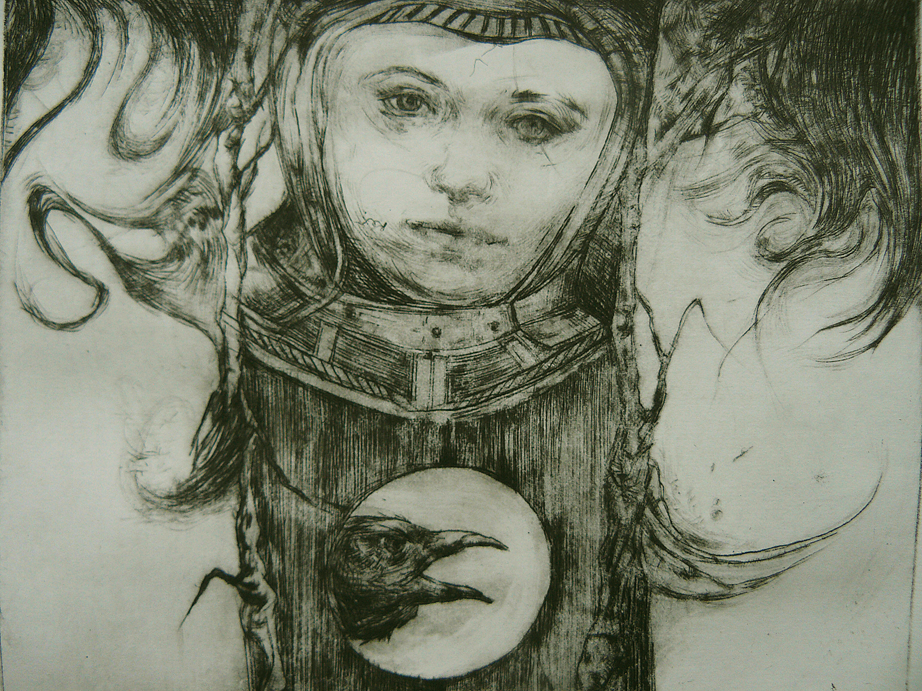
Drypoint is a printmaking technique, in which an image is incised into a plate with a hard-pointed "needle" of sharp metal. Traditionally, the plate was copper, but now acetate, zinc, or plexiglass are also commonly used. Like etching, drypoint is easier for an artist trained in drawing to master because it mimics line drawing.
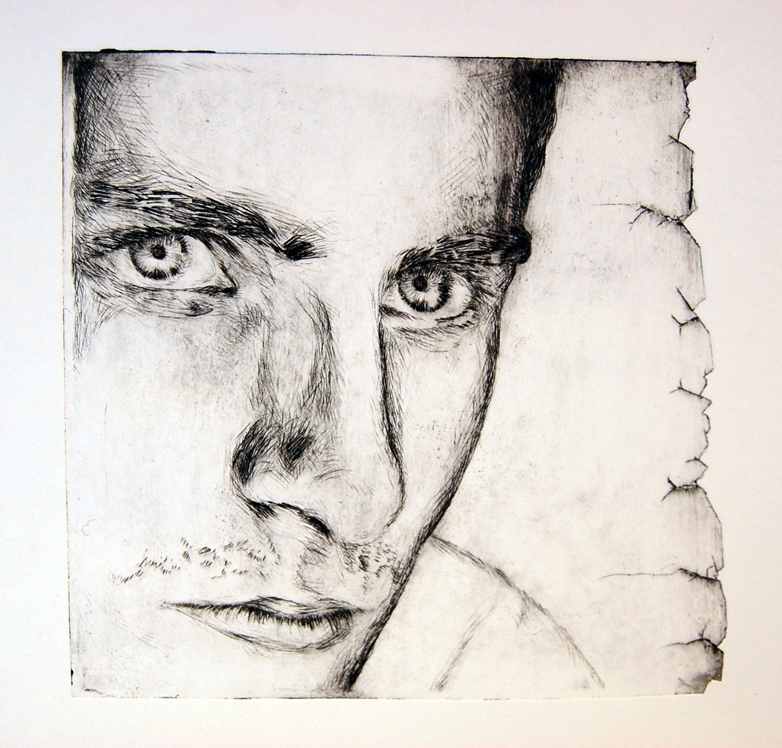
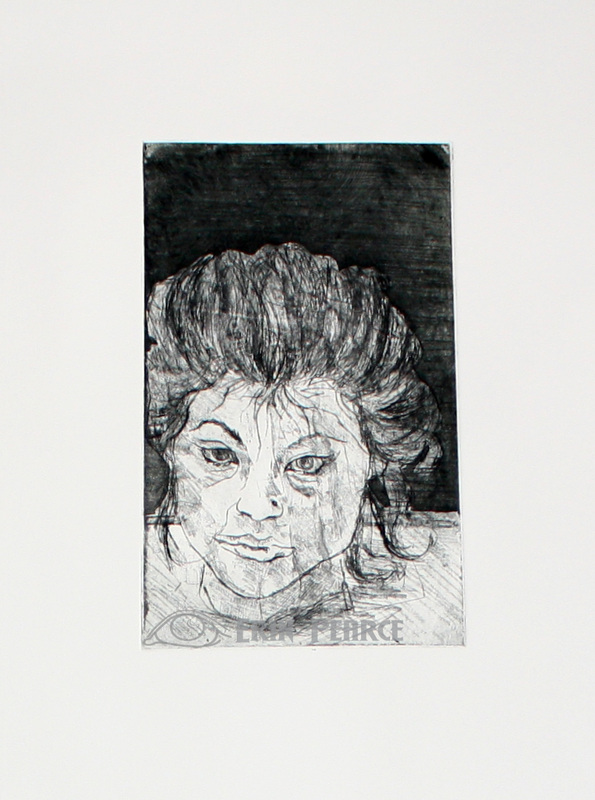
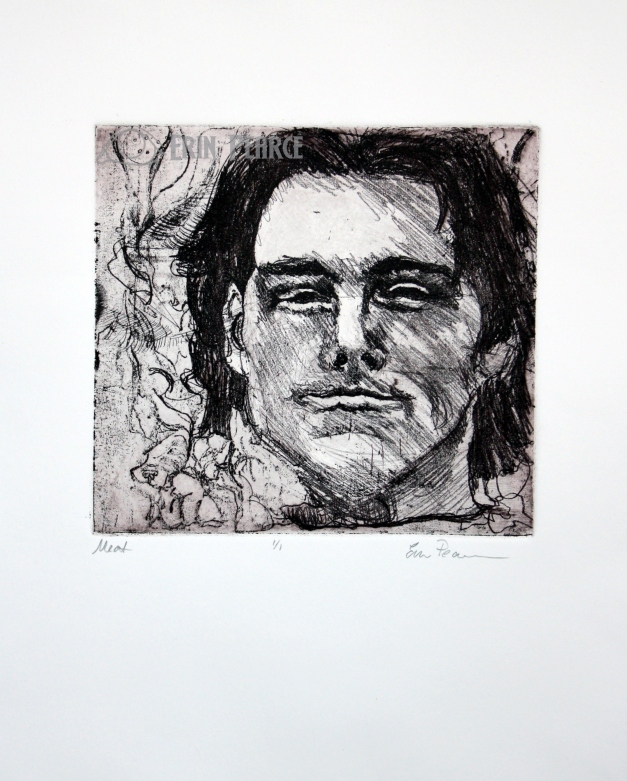
We will use plexiglass (acrylic) plates to make drypoint etchings of our self-portraits. Starting with a good photo is key to the success of this lesson. Your photo should have a strong range of values and an interesting close cropped composition. Select your best photo. Converting it to black and white will help with translating the values. Since this is a printing process, you will get a mirror image of your original photo. To correct this you can mirror flip the image in Photoshop first. You may also edit your image by altering the contrast. You'll need a 5x7 print out of your image.
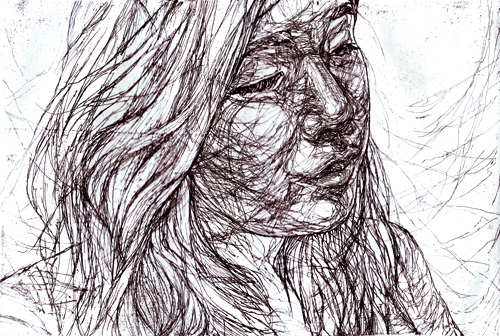
1. Practicing line work:
- Use a sharpie and an overhead to practice recreating your image using only lines.
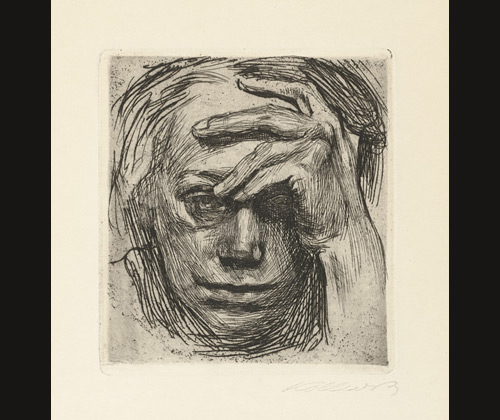
- Use hatching, and directional mark making to build up values and form.
- Denser patterns will create the illusion of darker values.
- Avoid hard outlines and let shapes of value define edges.
2. Etching:
- Use a glove or pad the needle with masking tape to avoid direct contact on your hand.
- Remove the protective coating on your plate. Place your plate over your image and secure with tape.
- Etch lines to create (burr) values. The denser the line patterns, the darker the value the plate will print.
- Stronger pressure and angled etching will produce thicker and darker marks.
3. Inking:
- Printing is very mess. Consider rolling up your sleeves, wearing a smock, and keeping your hands as clean as possible. Be mindful of your work area. Ink tends to get everywhere.
- Soak your paper before inking.
- Use a piece of mat board to spread the ink across your plate in a very thin layer. This will fill your etching lines with ink.
- Scrape away as much of the surface ink as possible returning excess to the container.
- Wipe away surface ink with a paper towel.
- Buff the plate using pages from the phone book in circular motion. This process should be done with care as it is the most dictates the quality and success of your print.
4. Printing:
- Soak a piece of watercolor paper in the water bath for a few minutes (best done while you are inking).
- Remove paper with clean hands and let excess water drip off a corner.
- Pat dry the paper in between two towels.
- Use the registration on the printing press to align your printing plate first. Then place the paper aligned on top of the plate.
- Lay the felt blanket on top and run the print through the press forward and back.
Printing Portfolio:
-2 High Quality Plain Black Prints
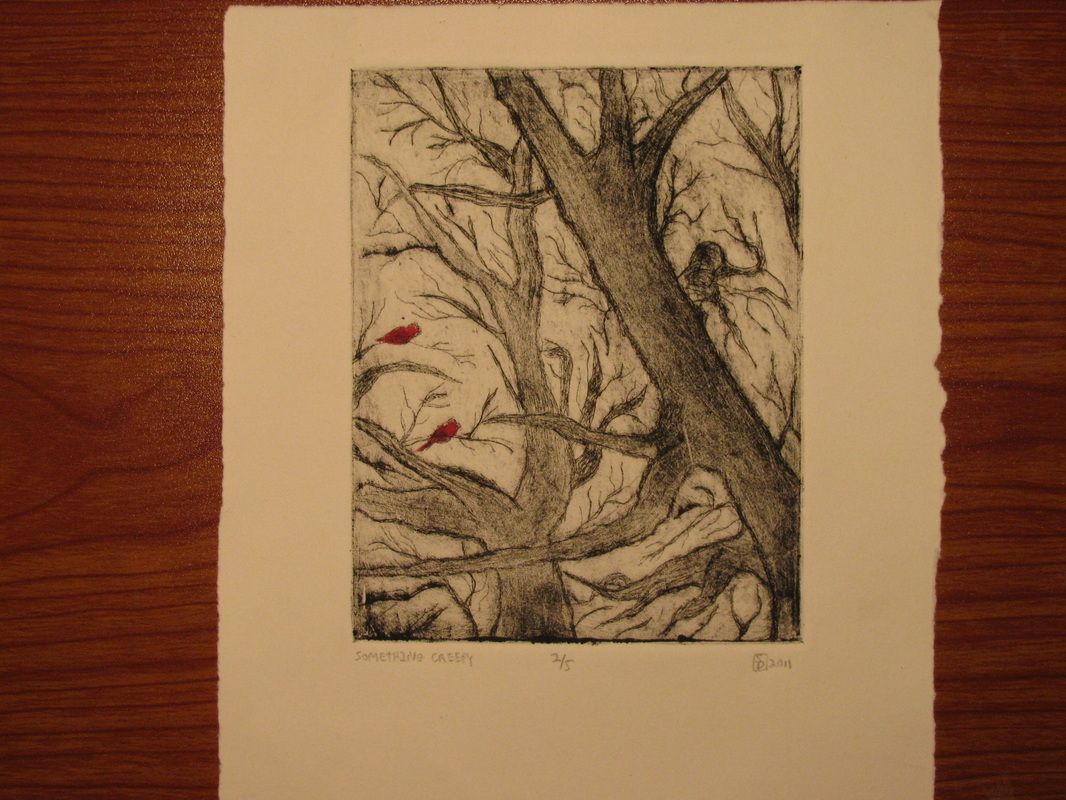
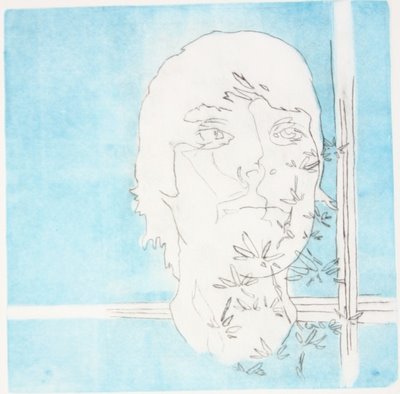
-2 Mixed Media Prints
-Color pencil, watercolor, chalk pastel, ink
-Tints, selective color
Label all prints using this format:
#/# Title Signature
We will use plexiglass (acrylic) plates to make drypoint etchings of our self-portraits. Starting with a good photo is key to the success of this lesson. Your photo should have a strong range of values and an interesting close cropped composition. Select your best photo. Converting it to black and white will help with translating the values. Since this is a printing process, you will get a mirror image of your original photo. To correct this you can mirror flip the image in Photoshop first. You may also edit your image by altering the contrast. You'll need a 5x7 print out of your image.
1. Practicing line work:
- Use a sharpie and an overhead to practice recreating your image using only lines.
- Use hatching, and directional mark making to build up values and form.
- Denser patterns will create the illusion of darker values.
- Avoid hard outlines and let shapes of value define edges.
2. Etching:
- Use a glove or pad the needle with masking tape to avoid direct contact on your hand.
- Remove the protective coating on your plate. Place your plate over your image and secure with tape.
- Etch lines to create (burr) values. The denser the line patterns, the darker the value the plate will print.
- Stronger pressure and angled etching will produce thicker and darker marks.
3. Inking:
- Printing is very mess. Consider rolling up your sleeves, wearing a smock, and keeping your hands as clean as possible. Be mindful of your work area. Ink tends to get everywhere.
- Soak your paper before inking.
- Use a piece of mat board to spread the ink across your plate in a very thin layer. This will fill your etching lines with ink.
- Scrape away as much of the surface ink as possible returning excess to the container.
- Wipe away surface ink with a paper towel.
- Buff the plate using pages from the phone book in circular motion. This process should be done with care as it is the most dictates the quality and success of your print.
4. Printing:
- Soak a piece of watercolor paper in the water bath for a few minutes (best done while you are inking).
- Remove paper with clean hands and let excess water drip off a corner.
- Pat dry the paper in between two towels.
- Use the registration on the printing press to align your printing plate first. Then place the paper aligned on top of the plate.
- Lay the felt blanket on top and run the print through the press forward and back.
Printing Portfolio:
-2 High Quality Plain Black Prints
-2 Mixed Media Prints
-Color pencil, watercolor, chalk pastel, ink
-Tints, selective color
Label all prints using this format:
#/# Title Signature
 RSS Feed