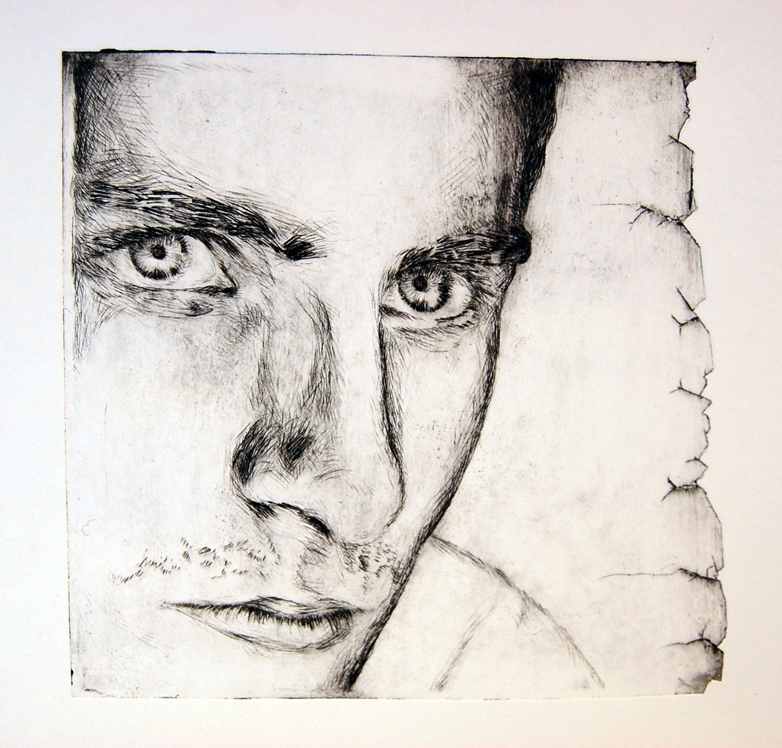
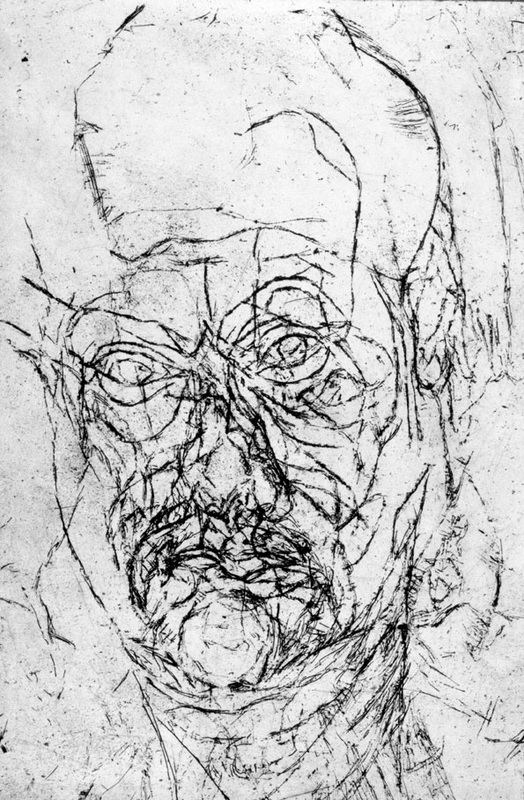
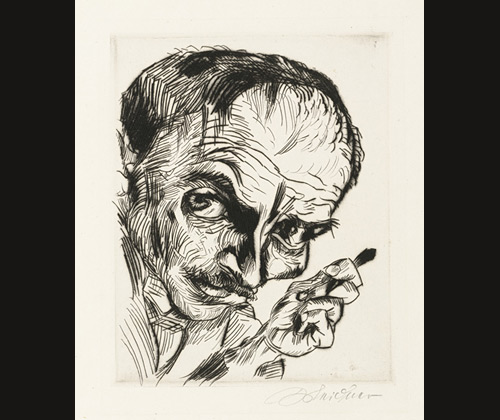
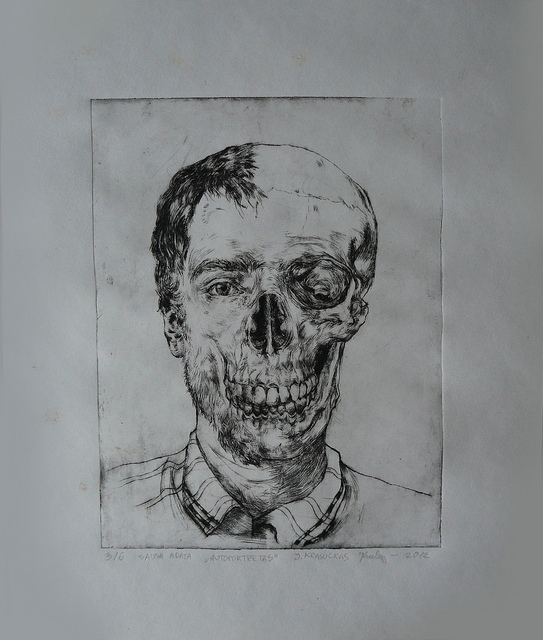
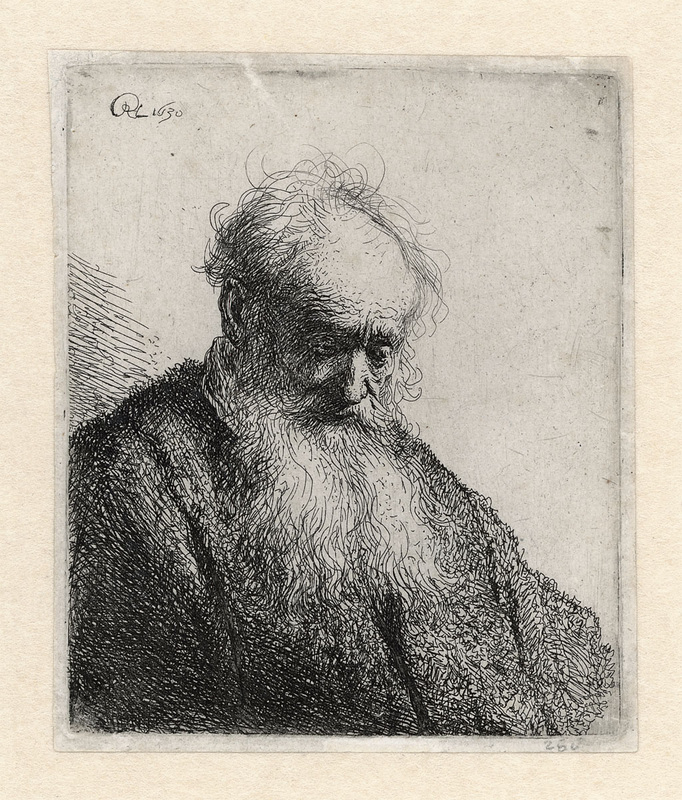
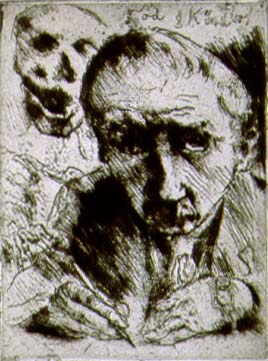
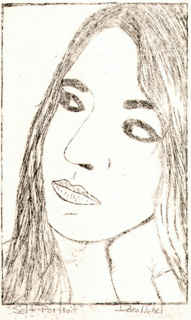
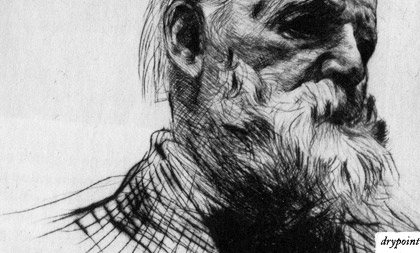
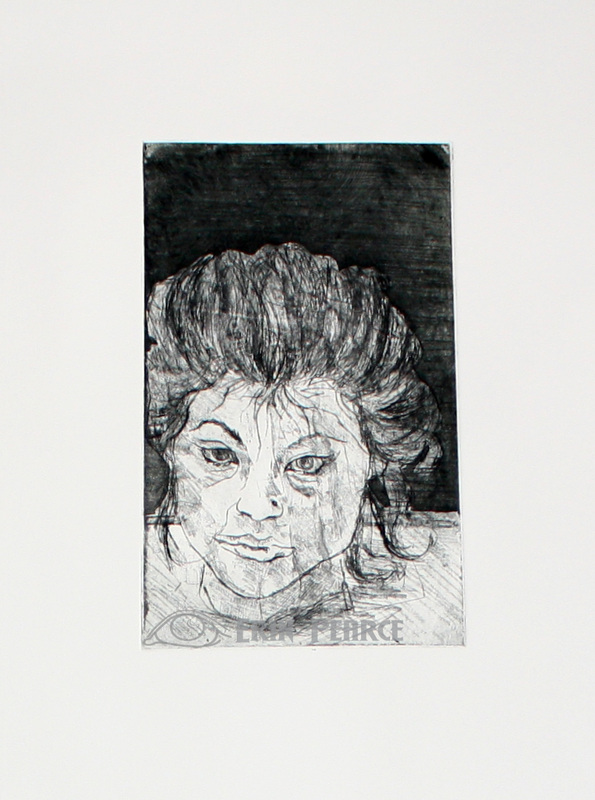
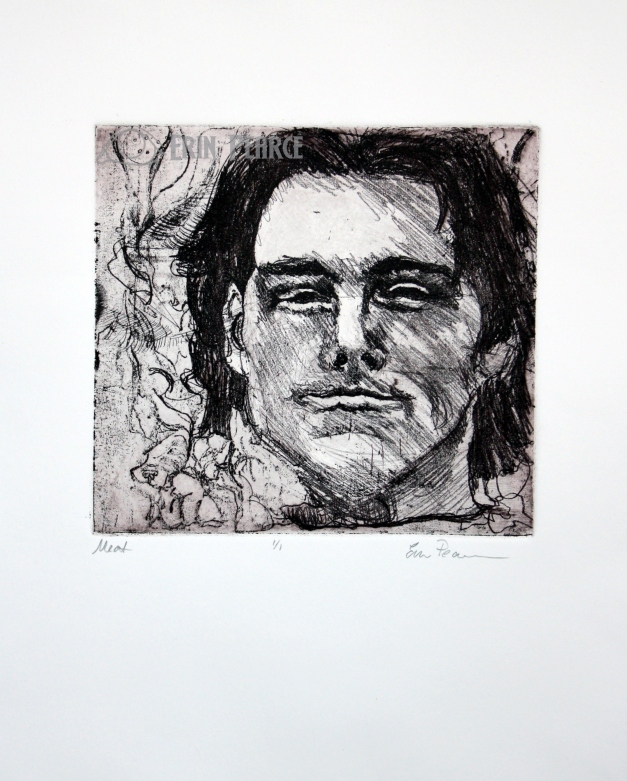
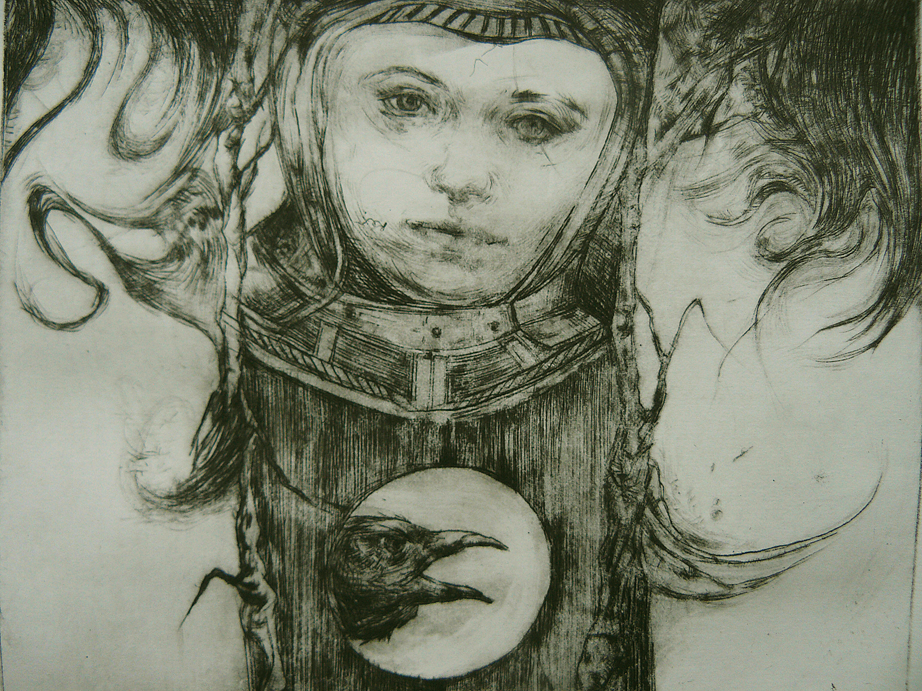
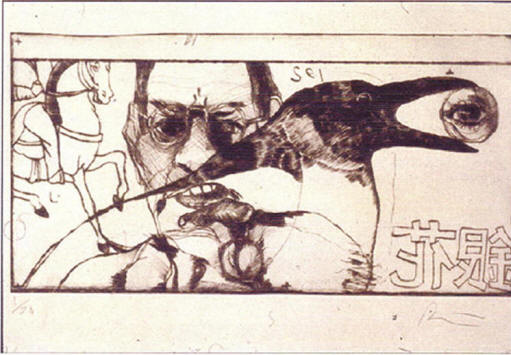
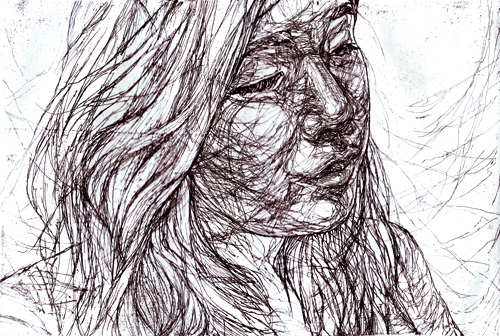
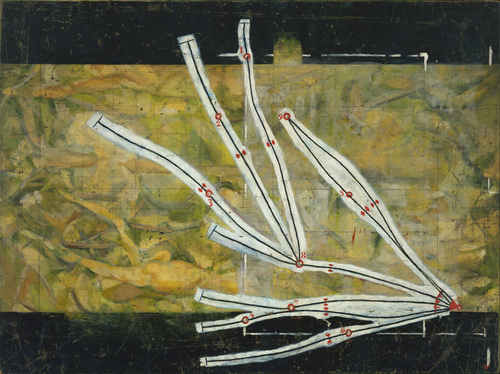
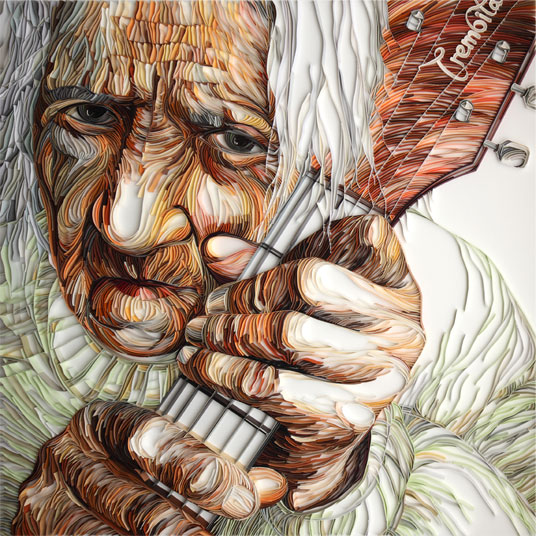
Drypoint is a printmaking technique, in which an image is incised into a plate with a hard-pointed "needle" of sharp metal. Traditionally, the plate was copper, but now acetate, zinc, or plexiglass are also commonly used. Like etching, drypoint is easier for an artist trained in drawing to master because it mimics line drawing.
We will use plexiglass (acrylic) plates to make drypoint etchings of our self-portraits. Starting with a good photo is key to the success of this lesson. Your photo should have a strong range of values and an interesting close cropped composition. Select your best photo. Converting it to black and white will help with translating the values. Since this is a printing process, you will get a mirror image of your original photo. To correct this you can mirror flip the image in Photoshop first. You may also edit your image by altering the contrast. You'll need a 5x7 print out of your image.
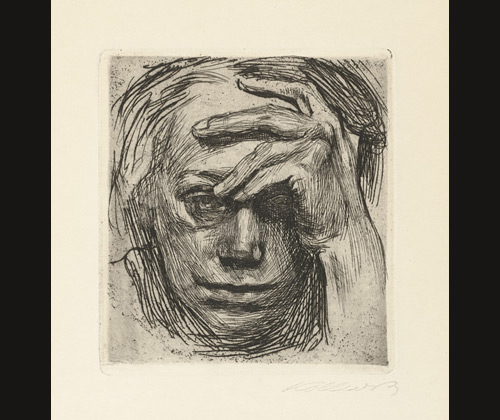
1. Practicing line work:
- Use a sharpie and an overhead to practice recreating your image using only lines.
- Use hatching, and directional mark making to build up values and form.
- Denser patterns will create the illusion of darker values.
- Avoid hard outlines and let shapes of value define edges.
2. Etching:
- Use a glove or pad the needle with masking tape to avoid direct contact on your hand.
- Remove the protective coating on your plate. Place your plate over your image and secure with tape.
- Etch lines to create (burr) values. The denser the line patterns, the darker the value the plate will print.
- Stronger pressure and angled etching will produce thicker and darker marks.
3. Inking:
- Printing is very mess. Consider rolling up your sleeves, wearing a smock, and keeping your hands as clean as possible. Be mindful of your work area. Ink tends to get everywhere.
- Soak your paper before inking.
- Use a piece of mat board to spread the ink across your plate in a very thin layer. This will fill your etching lines with ink.
- Scrape away as much of the surface ink as possible returning excess to the container.
- Wipe away surface ink with a paper towel.
- Buff the plate using pages from the phone book in circular motion. This process should be done with care as it is the most dictates the quality and success of your print.
4. Printing:
- Soak a piece of watercolor paper in the water bath for a few minutes (best done while you are inking).
- Remove paper with clean hands and let excess water drip off a corner.
- Pat dry the paper in between two towels.
- Use the registration on the printing press to align your printing plate first. Then place the paper aligned on top of the plate.
- Lay the felt blanket on top and run the print through the press forward and back.
Printing Portfolio:
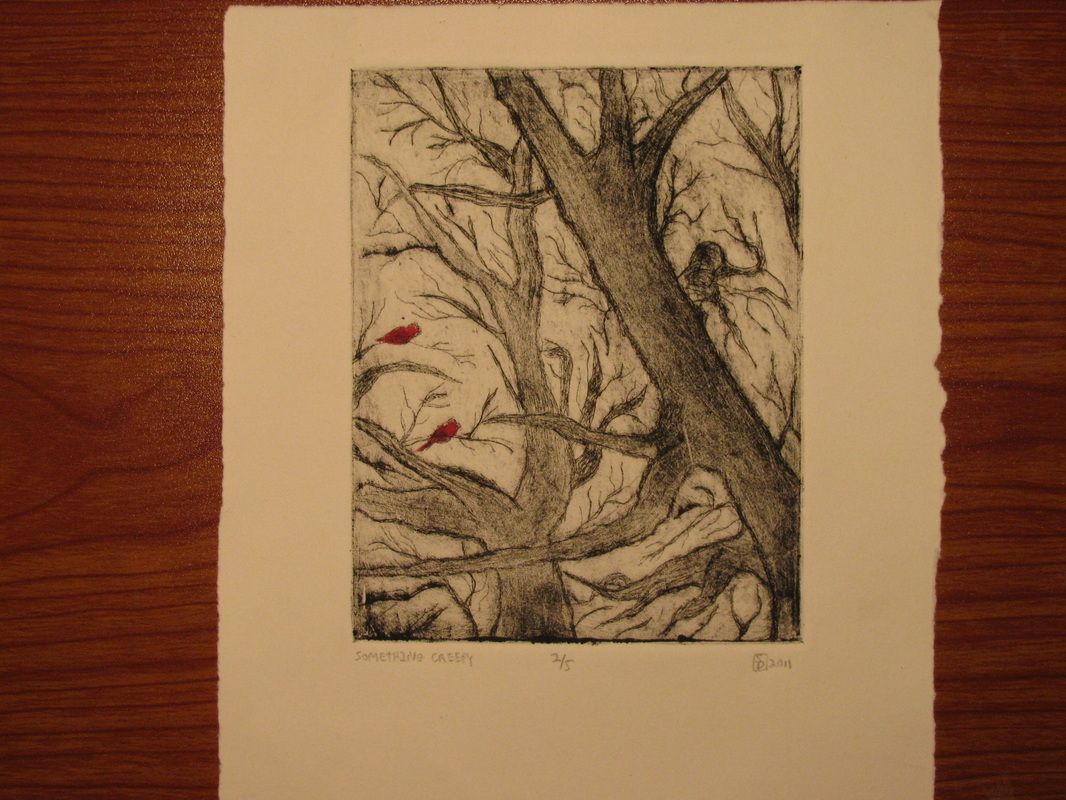
-2 High Quality Plain Black Prints
-2 Mixed Media Prints
-Color pencil, watercolor, chalk pastel, ink
-Tints, selective color
Label all prints using this format:
#/# Title Signature
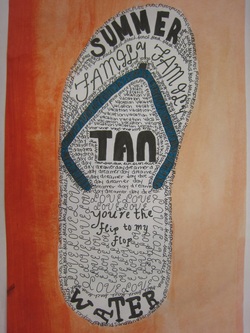
Problem: Students will be illustrating a favorite object using text
Requirements: –Must be mostly in black and white, but a small area of color may be added for emphasis –If your object has a logo, you must include it (ex. Nike) –Text should describe the object without simply repeating what the object is –Must consider contrast, upper and lower case letters, fonts, font size, positive/negative space
100 points, Due: 3/28

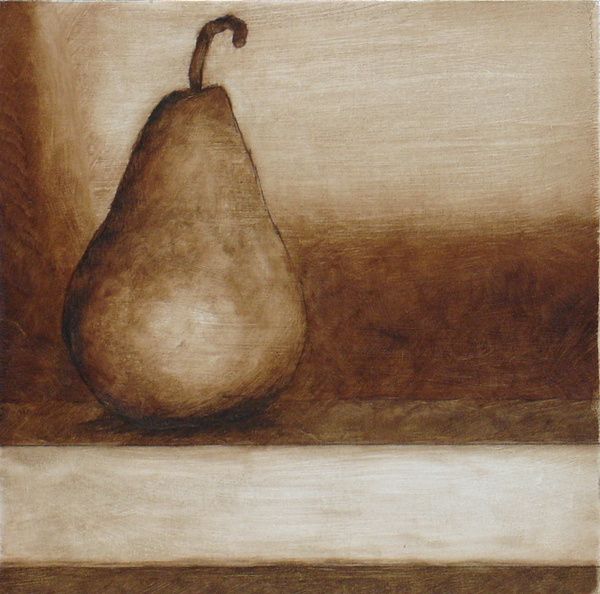
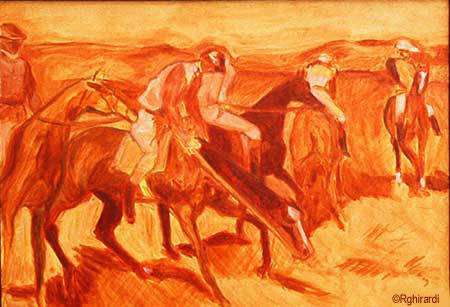
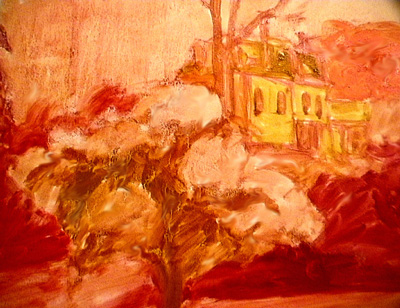
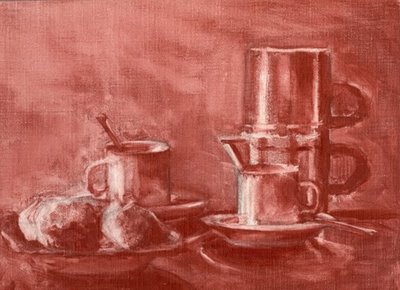
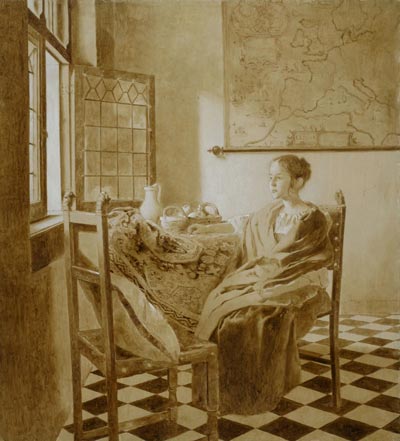
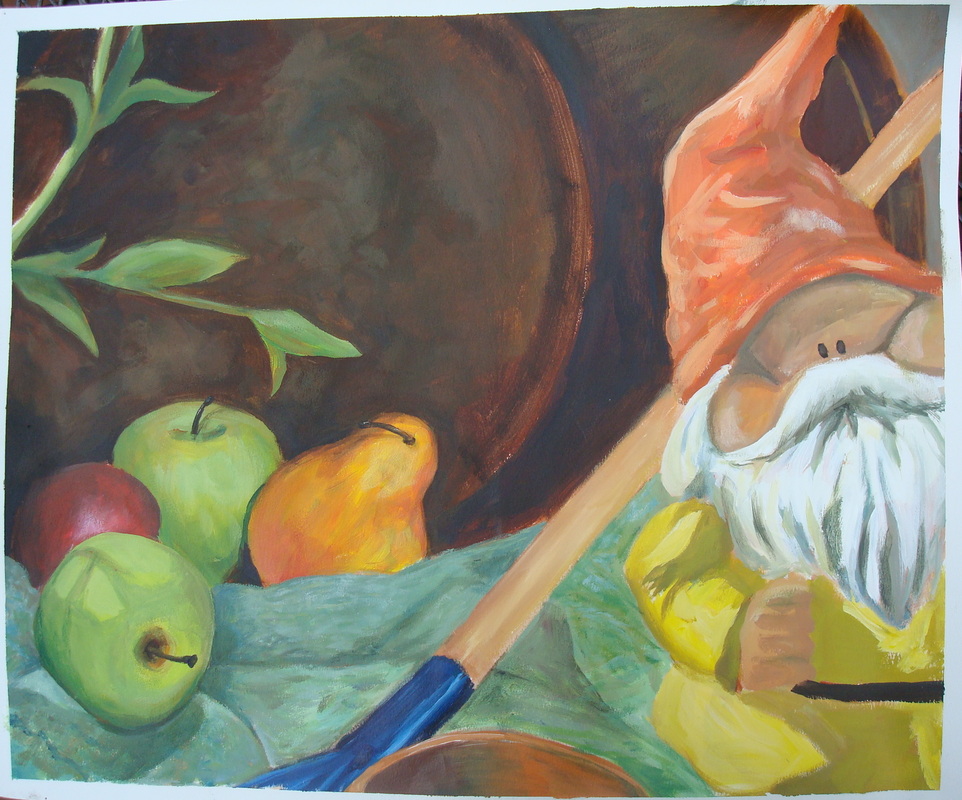
Underpainting is an initial layer of paint, which serves as a base for subsequent layers of paint. It is usually done in monochromatic shades of brown or gray, but not always. It serves a number of purposes:
- work out contrast and values using a single color (without having to worry about color matching or mixing complex colors)
- work out composition
- adds a base or an initial layer of paint
- don't worry about small details...just the big values..
- increases the luminosity and depth of color and creates an inner glow
- blank canvases can be intimidating and underpainting takes away that vast whiteness
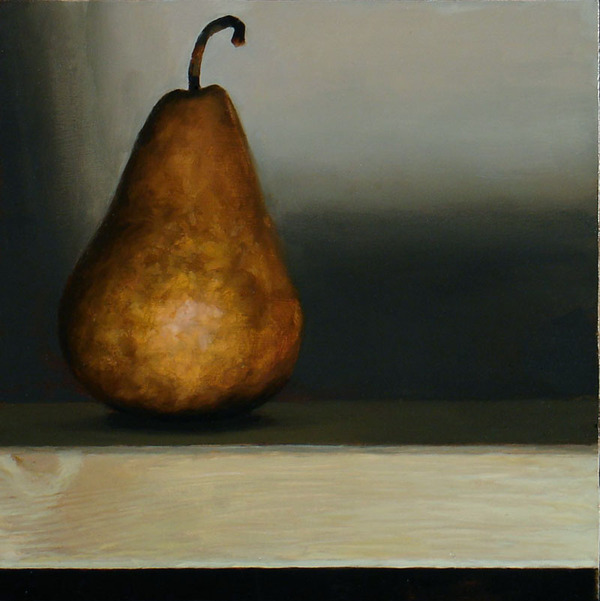
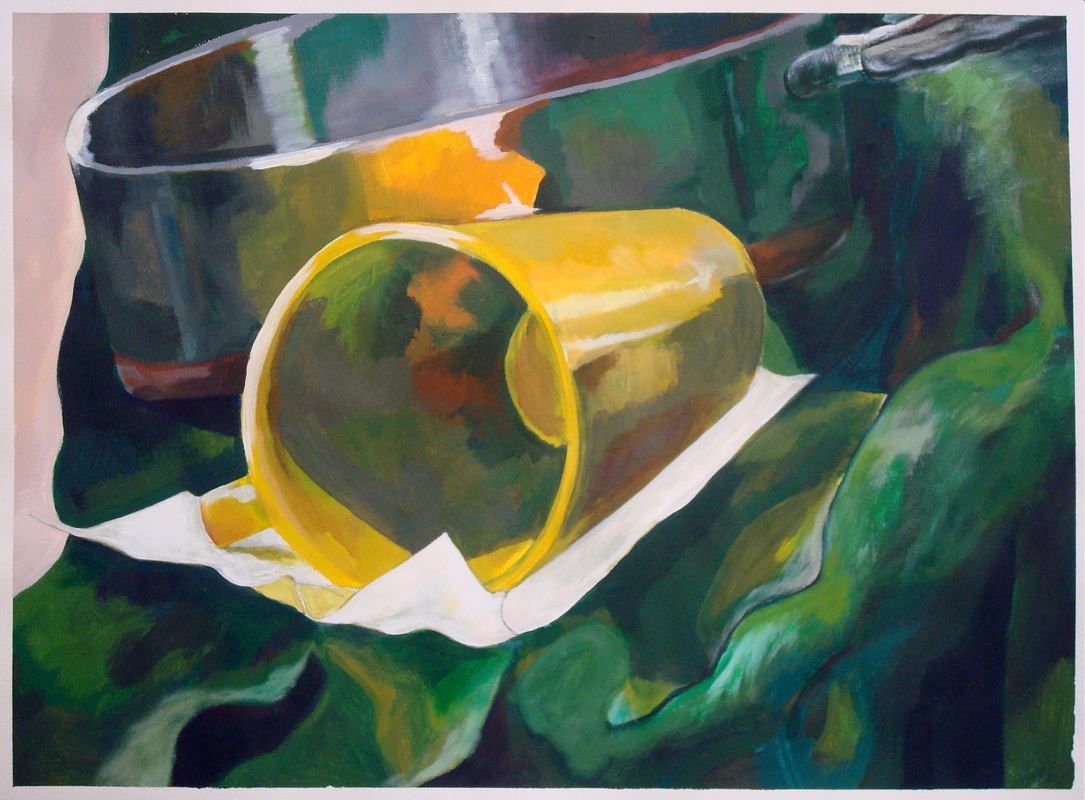
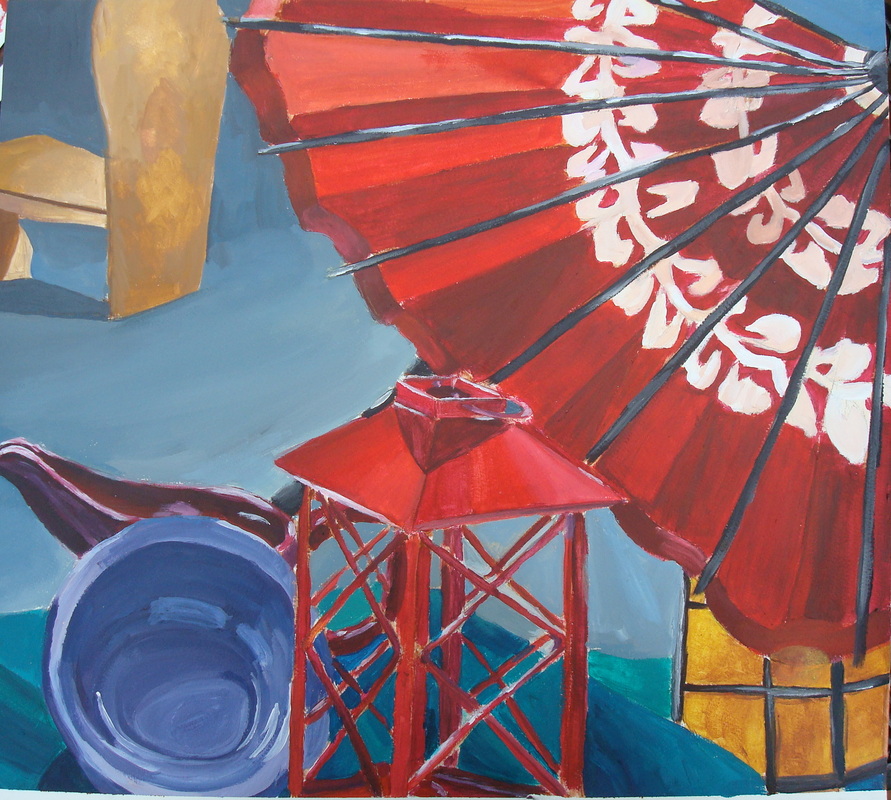
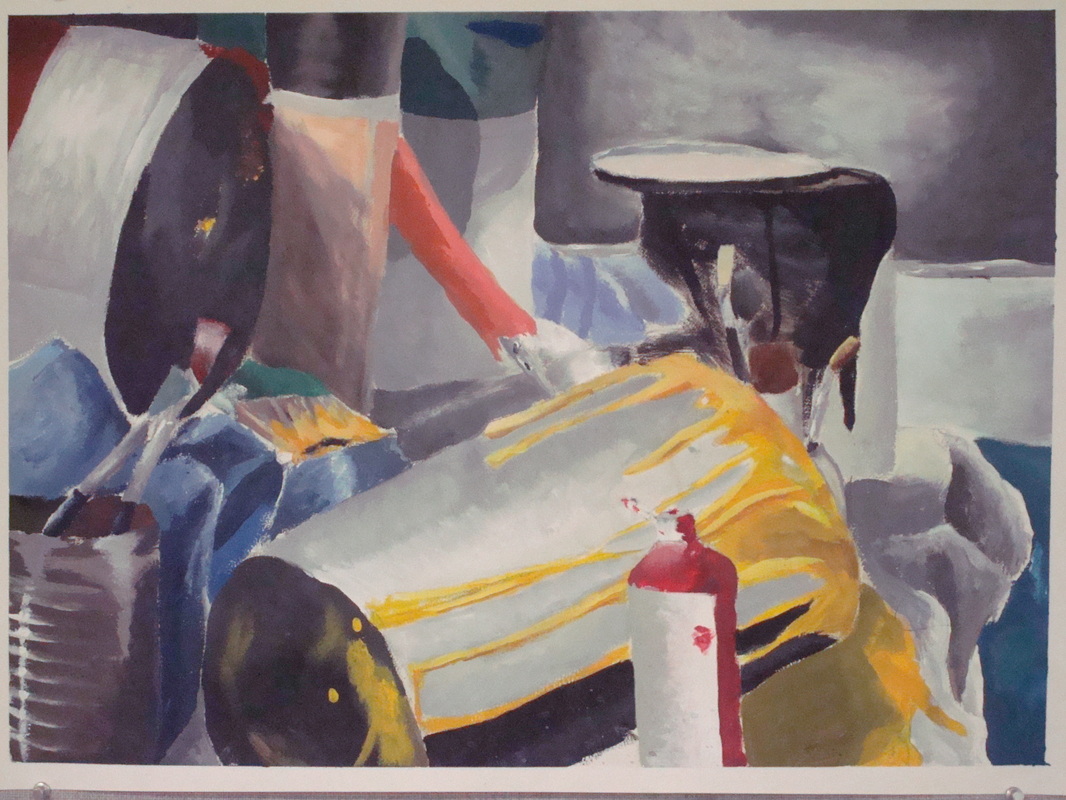
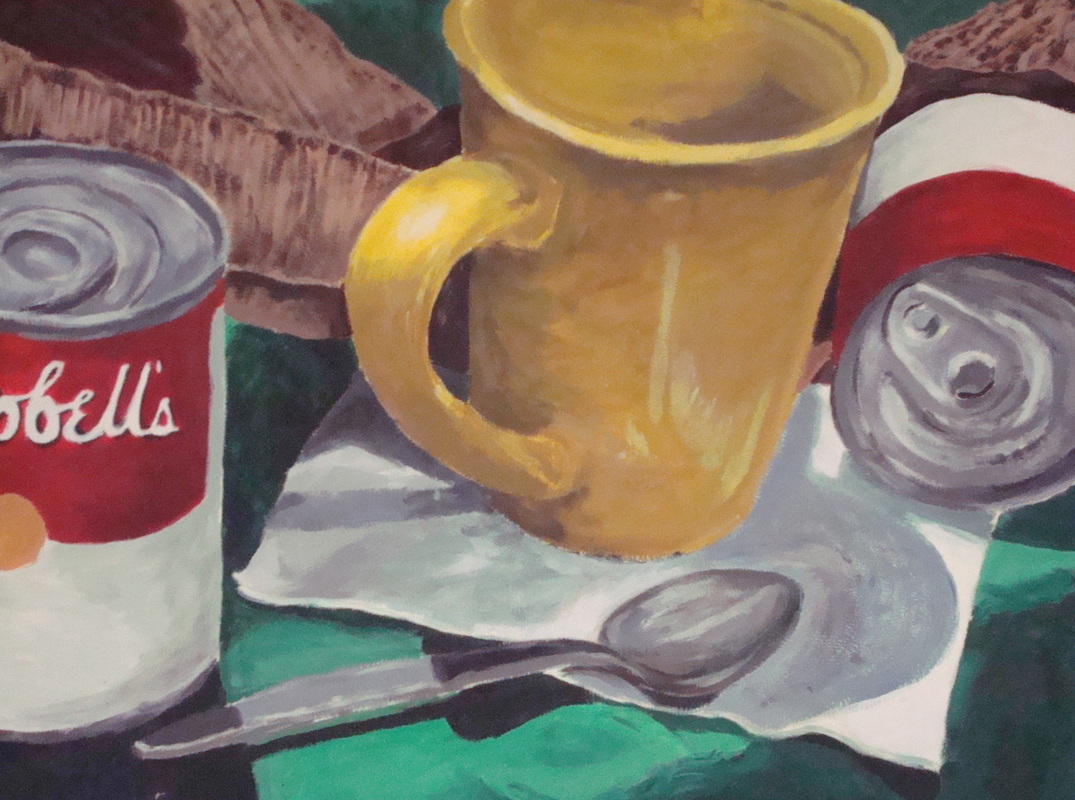
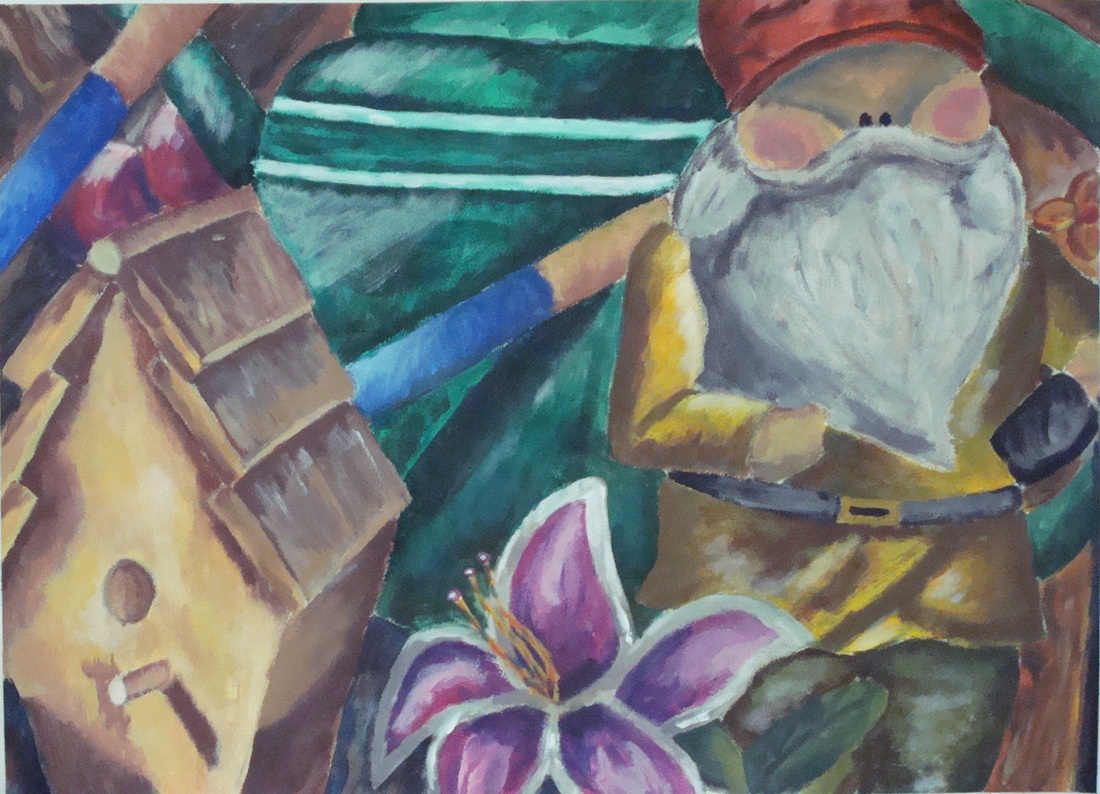
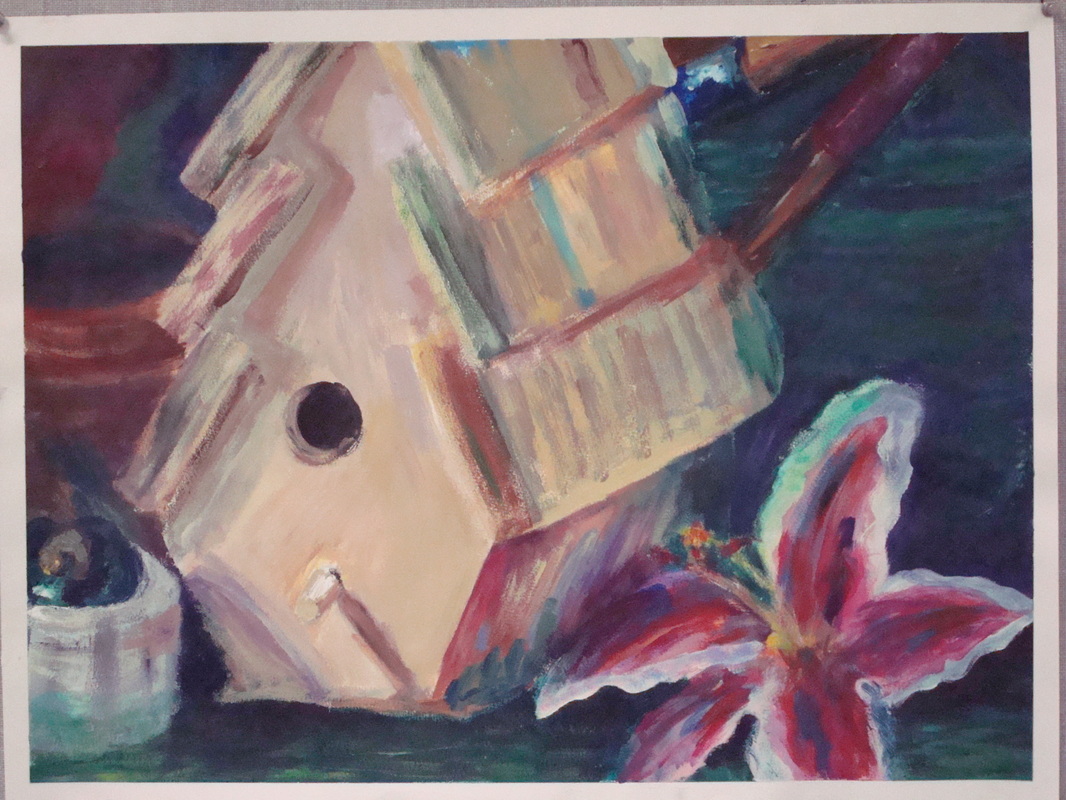
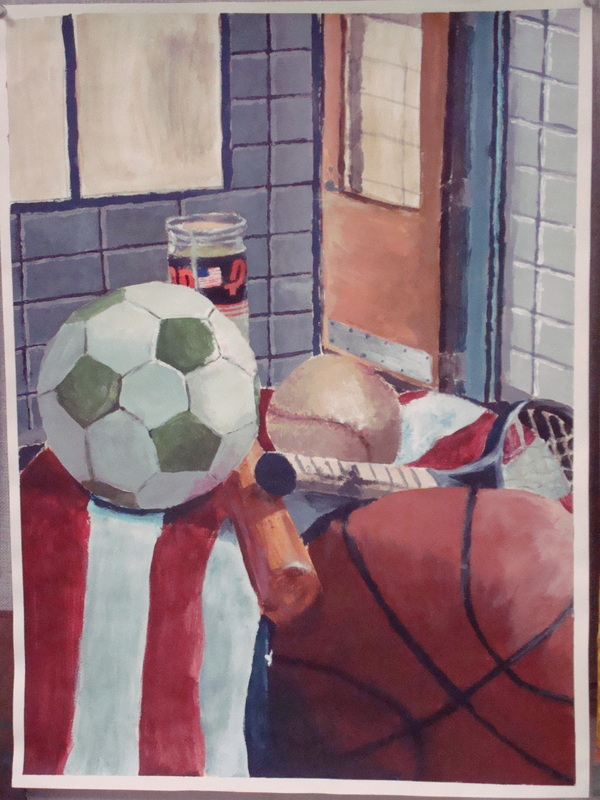
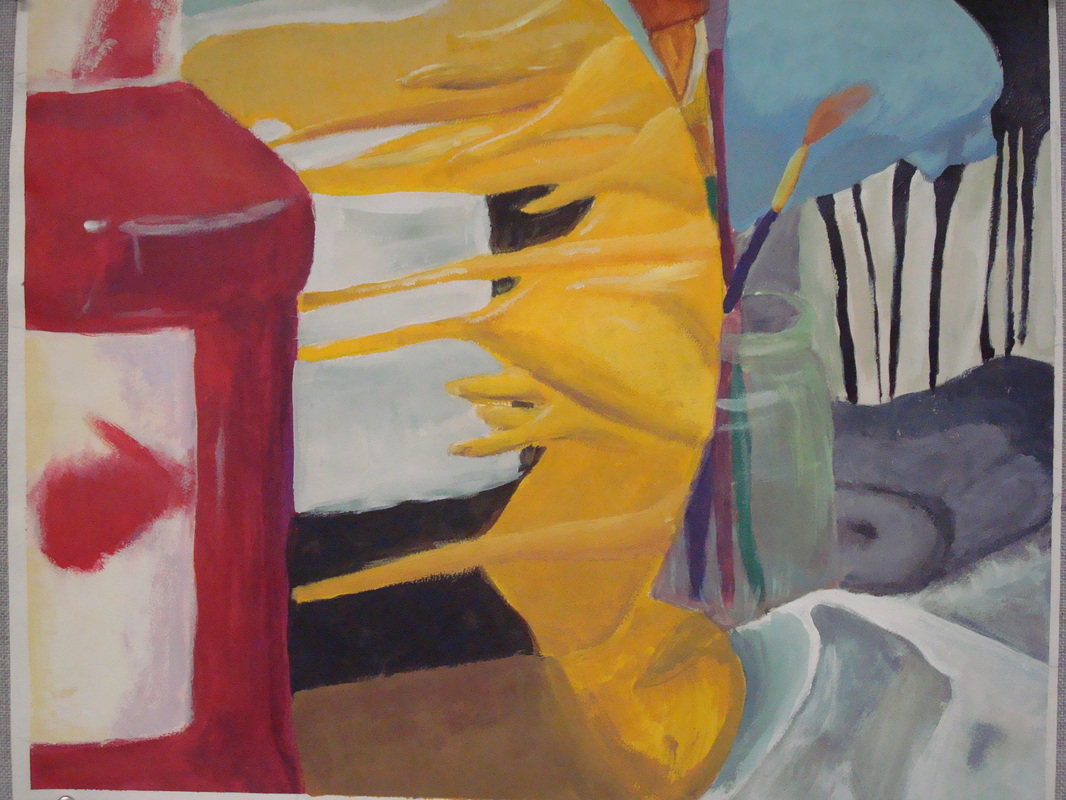
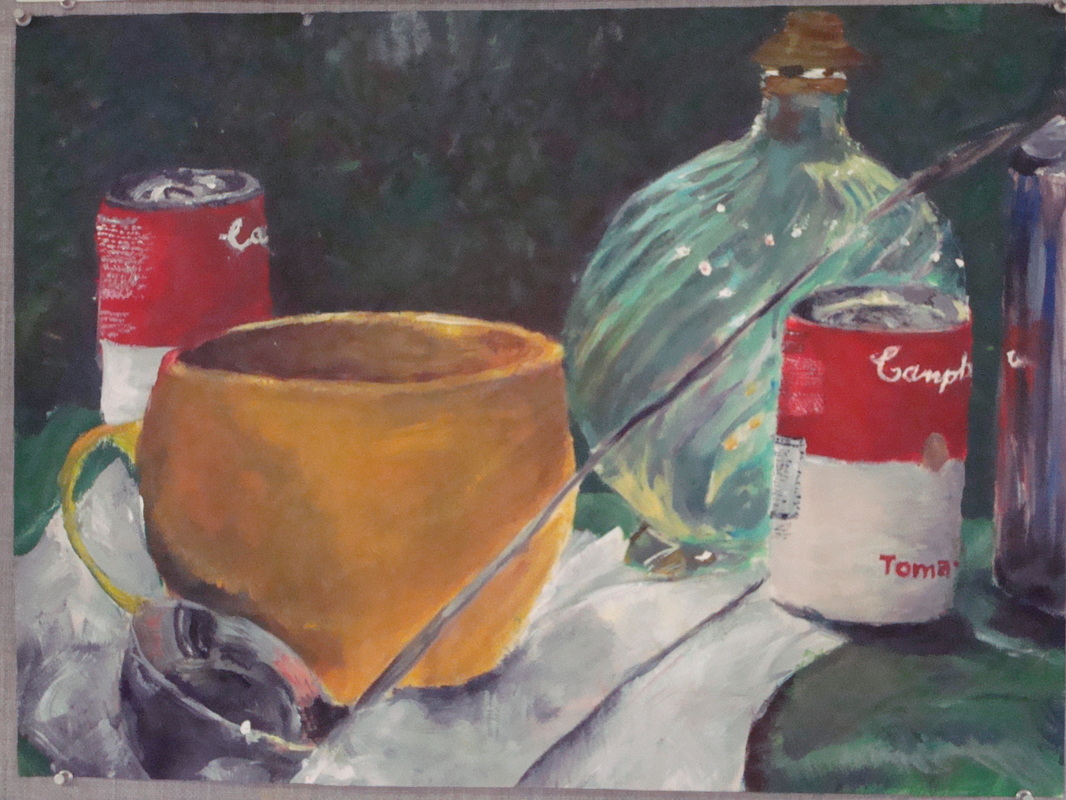
This is your first real painting!!!
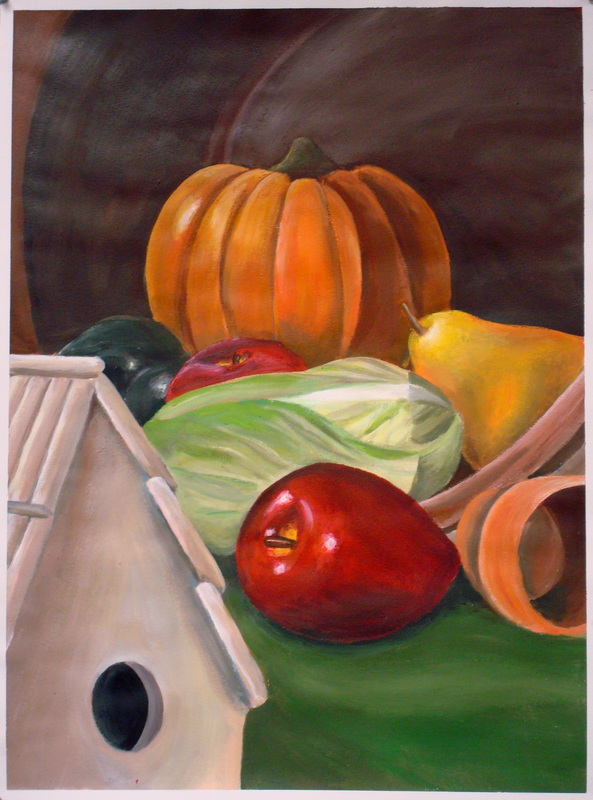
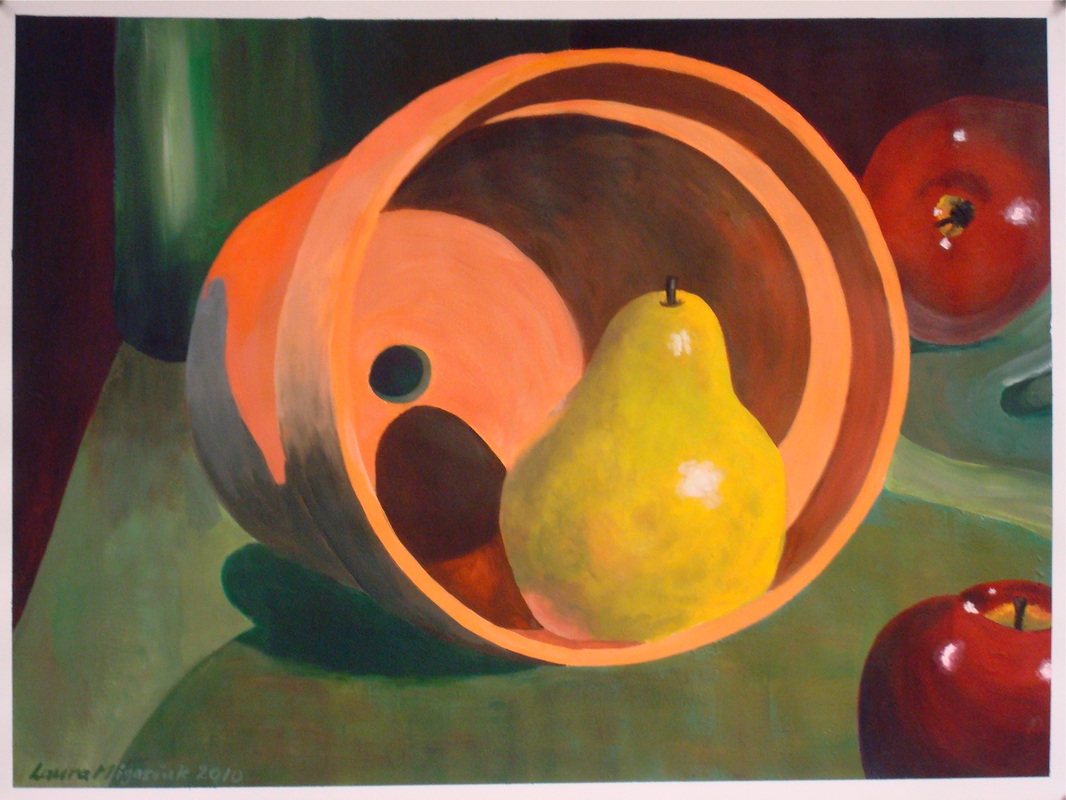
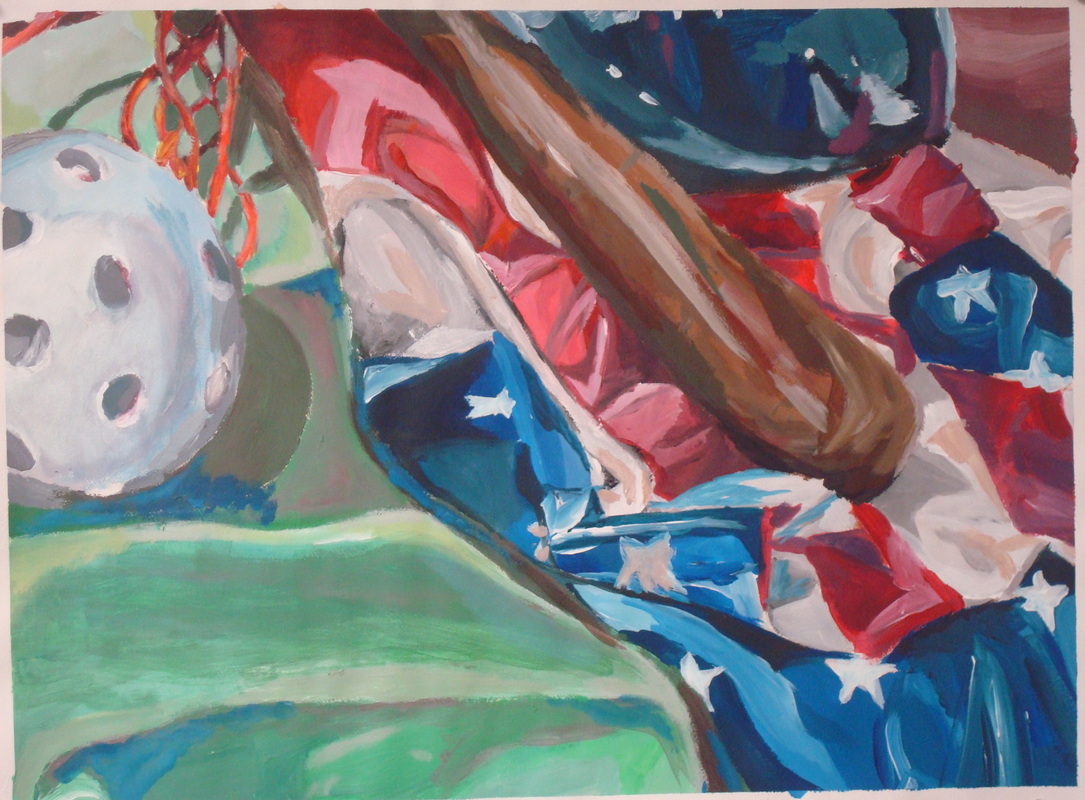
1. Take a look at the complex still life setups. Discover how to find interesting compositions within. Challenge yourself!
2. Draw 5 thumbnails in your sketchbook that show off different composition strategies: zoom, depth, overlap, off edges, point of view/angles, scale changes, placement.
3. Review your thumbnails for strong compositions. Decide on a setup and composition to make a final painting. Sketch in LIGHT lines!
4. ACRYLIC- Do a quick underpainting. Block in big areas of values first. Do not start with a tiny brush doing details.
5. WATERCOLOR- Make sure your pencil lines are very light. Work from light to dark. Mix even washes and patiently control the paint.
Set up four practice paintings so that you can experiment with opacity v. transparency, and layering techniques. Use water and mediums to thin the paint.
Once you feel comfortable with what you can do with the paint, begin your mini-paintings.
You will need to complete 6 paintings with the following themes:
- Brushwork - Layers -Transparent
-Monochromatic - Drip - Choice
Label each painting with the theme and your name.
BCR: Reflect on your mini paintings and all you learned from painting. Which technique do you like? What colors work together?
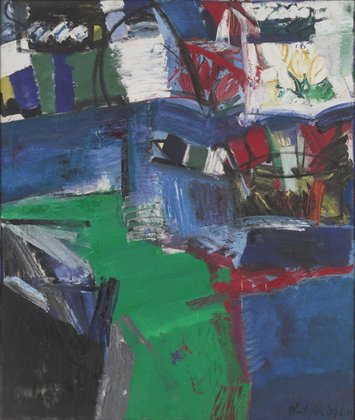
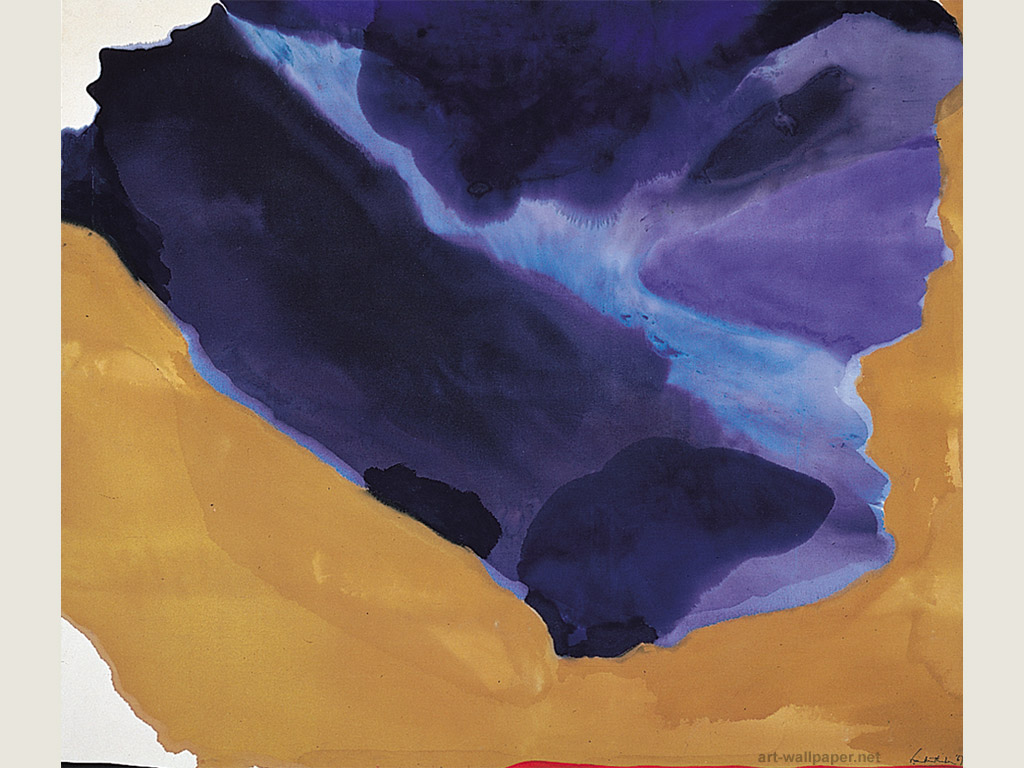
We are going to be experimenting with watercolor paint. You will be making 6 small abstract paintings with the following themes:
- Brushwork -Layers -Transparent
-Monochromatic - Controlled Chaos - Unique
First, I just want you to play with the paint. Set up 3-6 practice paintings with masking tape on a board. Write your name.
Then setup your palette with paints (small amount) and get a feel for the paint.
Try different techniques with the watercolors to create interesting color fields that show blending, color mixing & brush stroke techniques.
Experiment with layering and transparency. Use water to thin the paints. Try wet on wet techniques to let the paint run, drip and have a mind of its own. Try dry on wet, wet on dry, etc.
When you have an understanding for the paint and an idea, begin a mini-painting. For a grade you will need 6 paintings of different themes: brushwork, layers, transparent, monochromatic, controlled chaos, and unique. Each painting needs to be labeled with your name and the theme title. (60 points)
Written reflection: Reflect on your mini paintings and all you learned from painting. Which techniques do you like? What colors work together? (10 points)
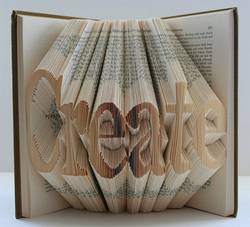
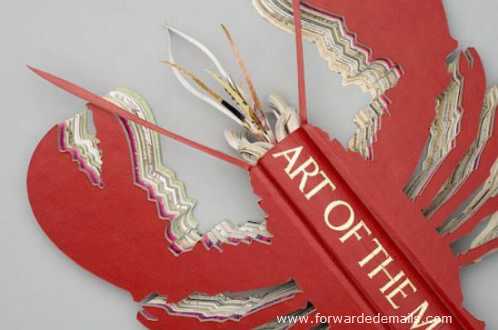
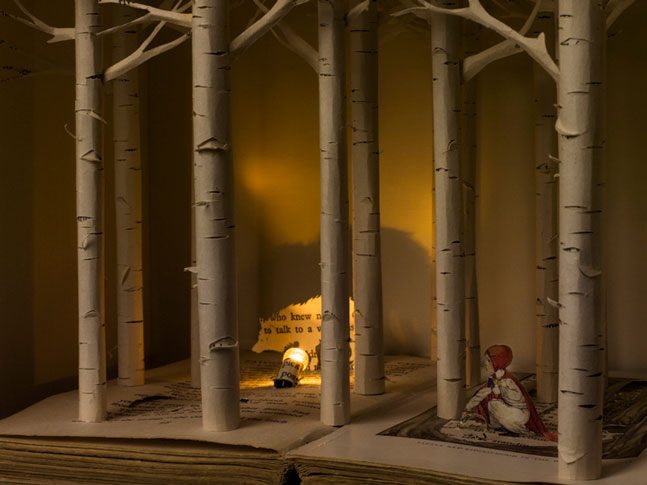
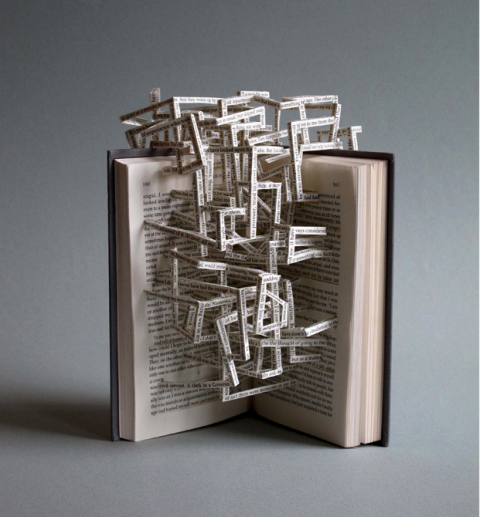
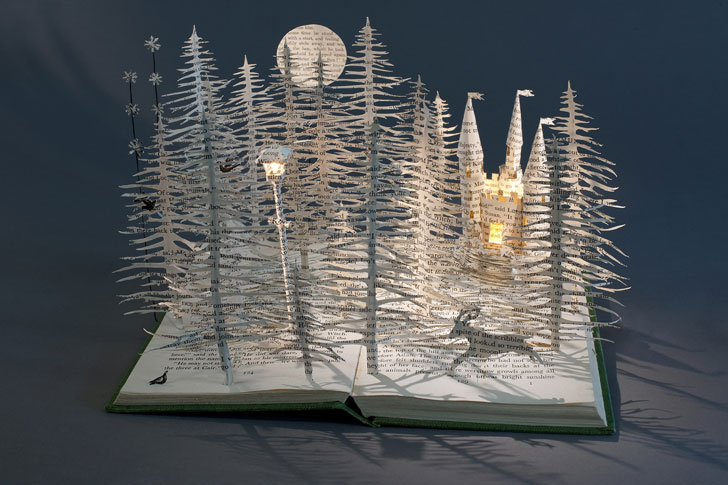
Description:
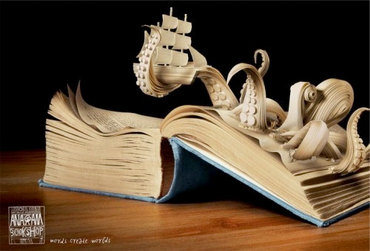
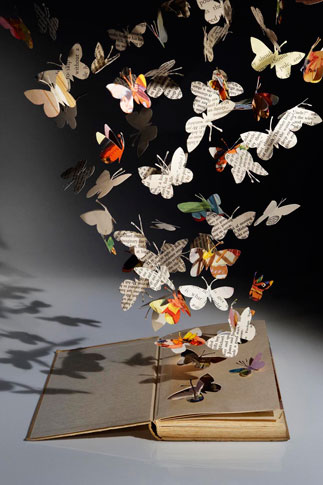
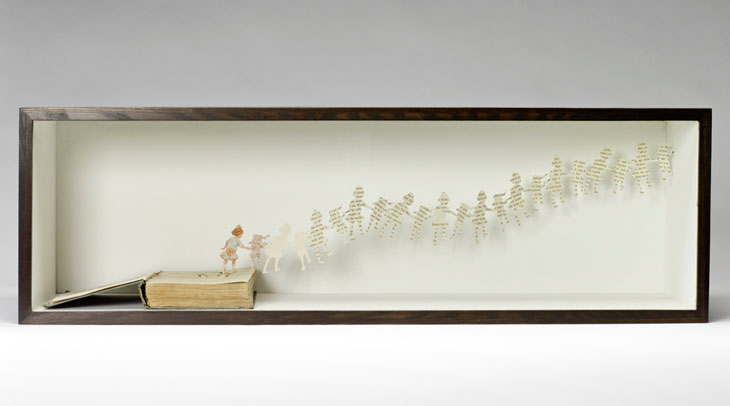
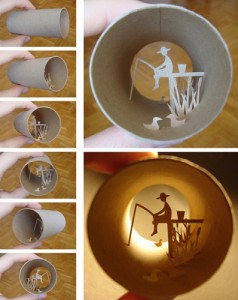
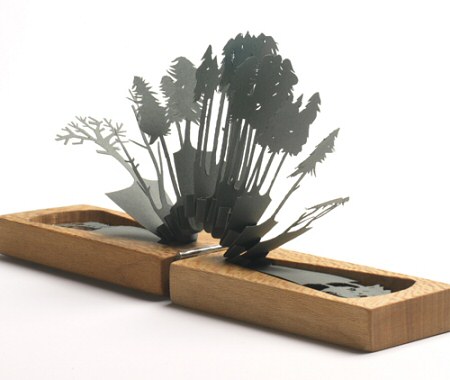
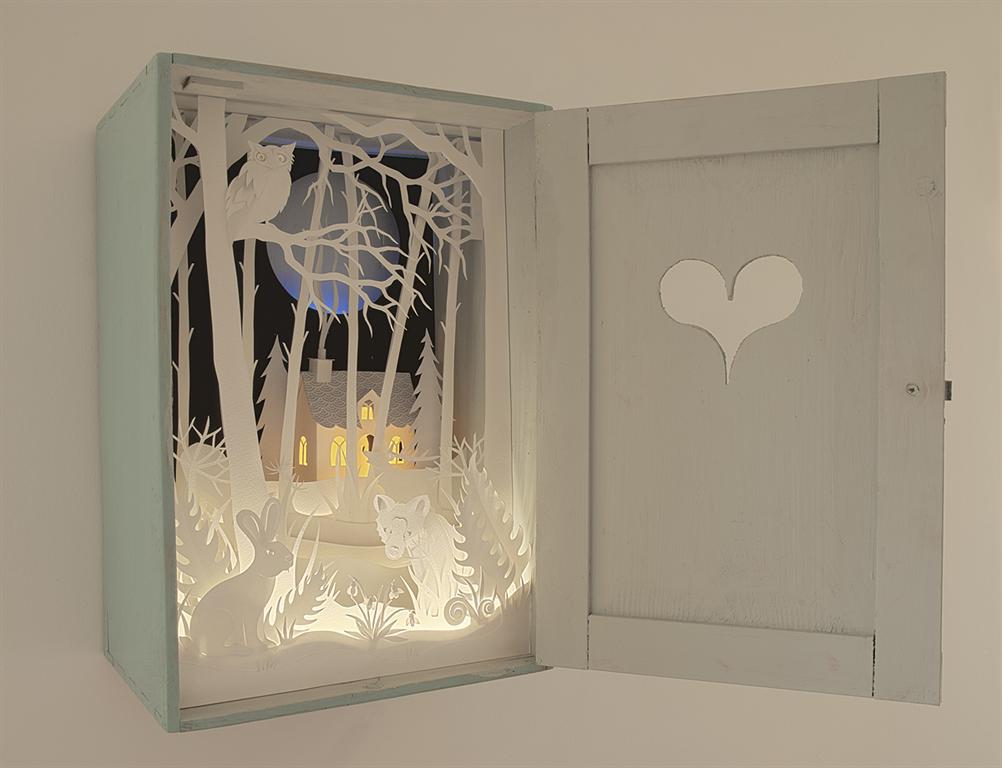
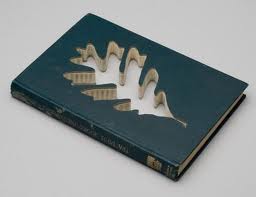
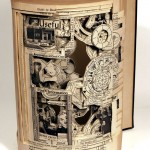
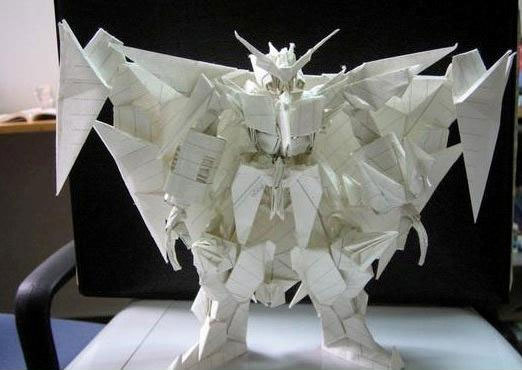
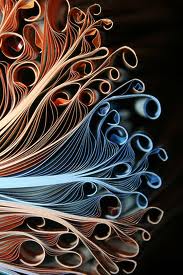
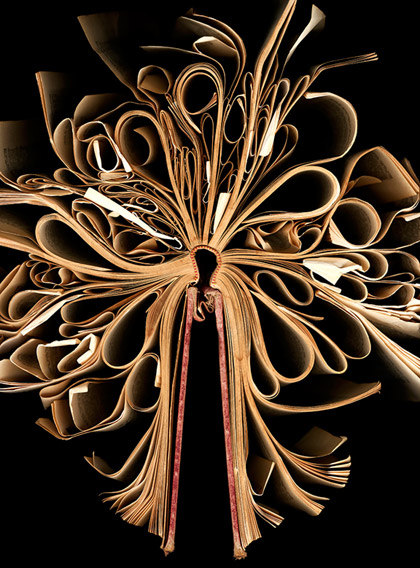
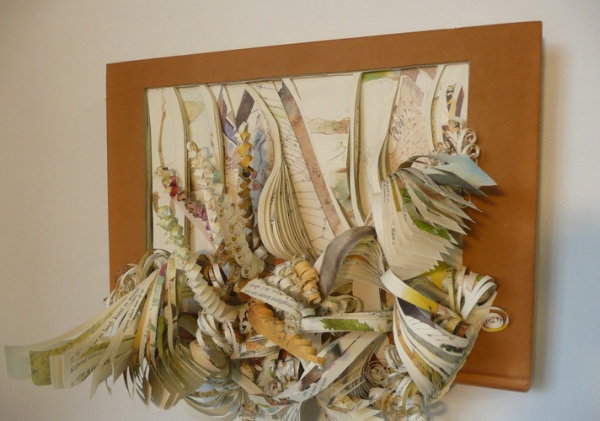
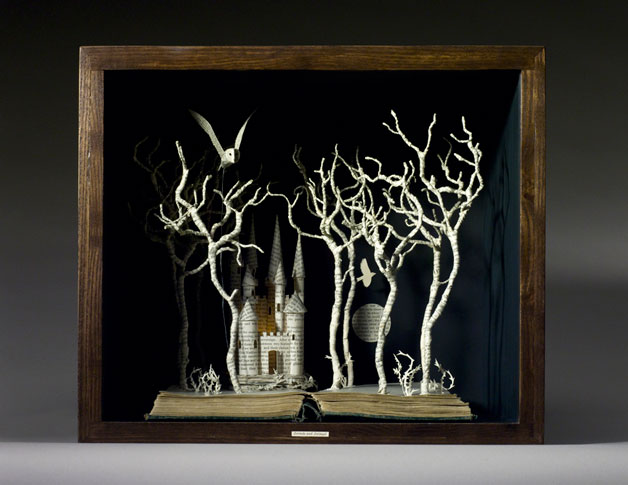
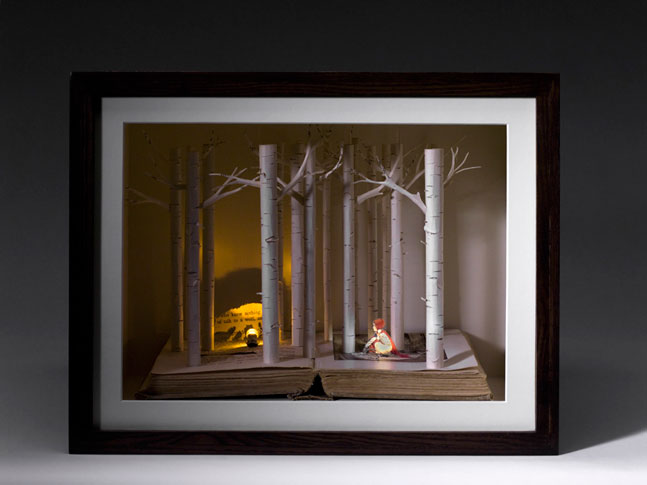
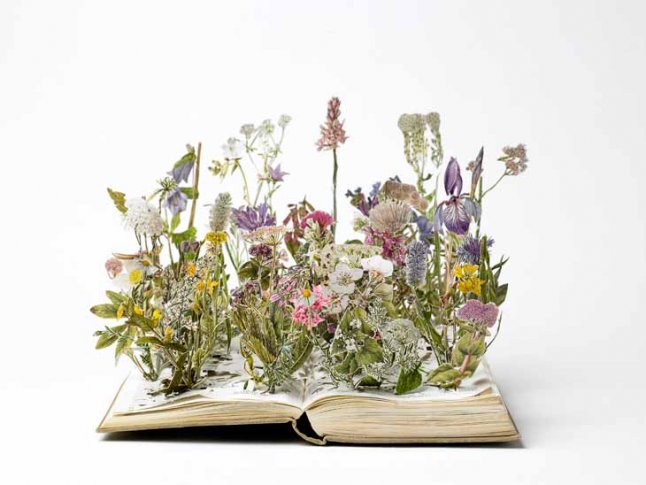
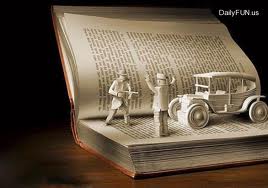
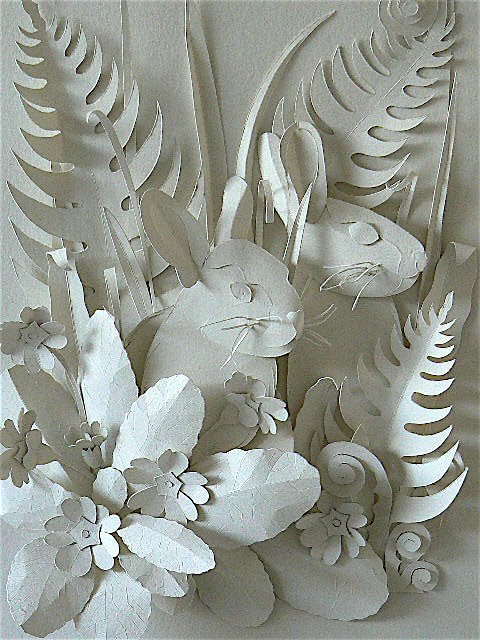
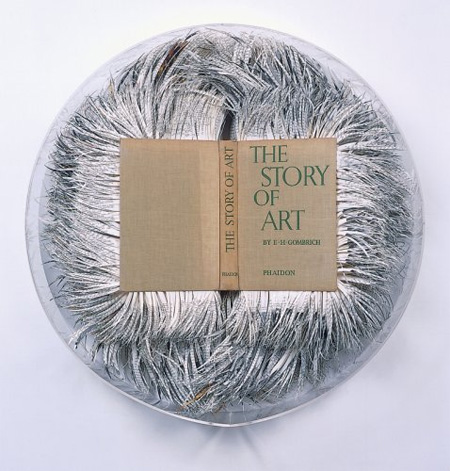
Old books are interesting in many ways. They have beautiful thick paper and often the typography is interesting. Many times they also have interesting images and prints. However the subject matter of your book will be your ultimate inspiration. You will be creating sculptures from old books and the subject-matter of the book will guide the sculpture you make. Your sculpture will be formed with the pages of your book.
Objectives:
Students will learn paper cutting, gluing, and folding techniques. Students will consider the relationship between the subject of their book and the sculpture that they create out of it.
Paper Techniques
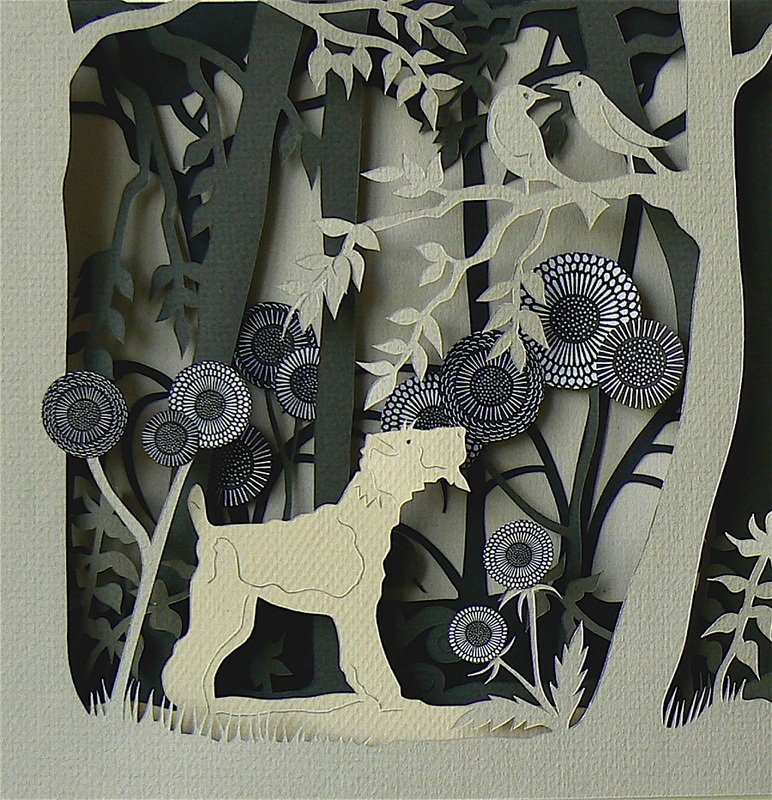
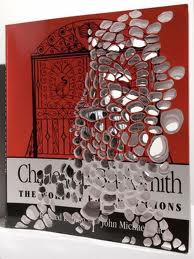
Cutting Paper into Shapes
You can improve or make sculptures from simply cutting paper into interesting shapes.
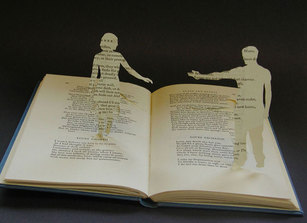
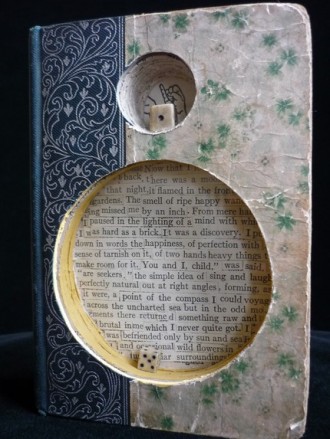
Carving paper out to form negative space
By carving into your book, you can expose images or words in a creative way. You can also carve shapes to enhance your sculpture.
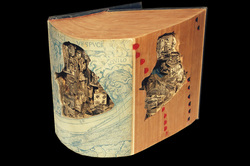
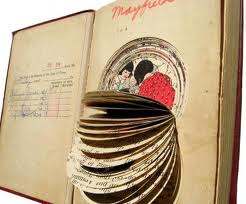
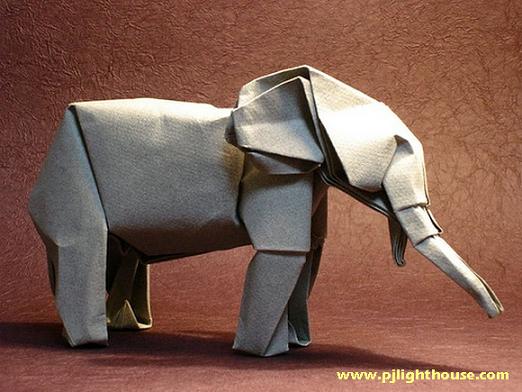
Folding paper
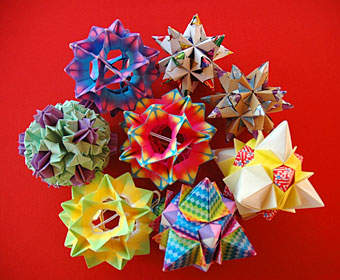
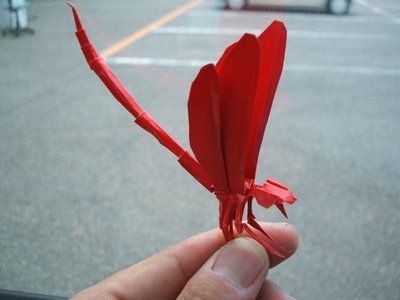
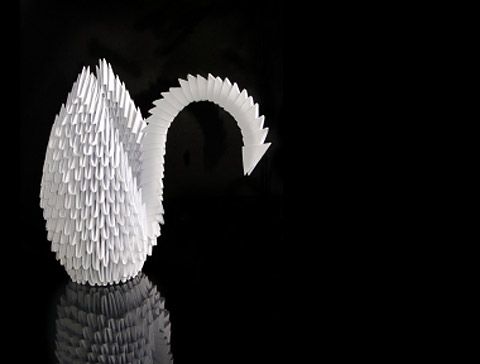
There are many ways to fold the paper in your book to help your sculpture. You can just simply fold the pages back in interesting ways, or you can create origami type sculptures. You can also roll the paper in different ways to create curves and waves.
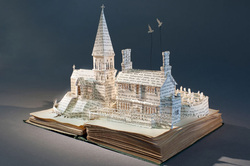
Gluing paper to make three-dimensional shapes
You can use paper mache techniques to glue paper together to create three dimensional shapes. There are many ways to sculpt with paper by crumpling it up and then covering it with strips of paper or simply gluing shapes together to form three dimensional objects.
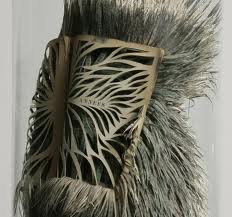
Cutting paper to create texture
You can slice the paper to form texture and give interesting patterns.
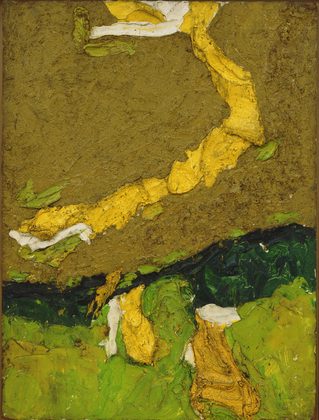
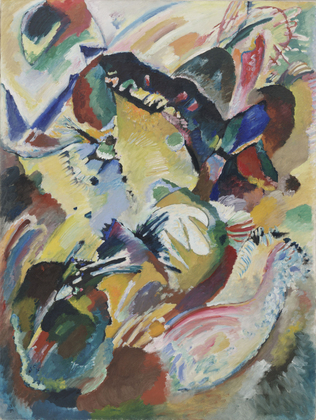
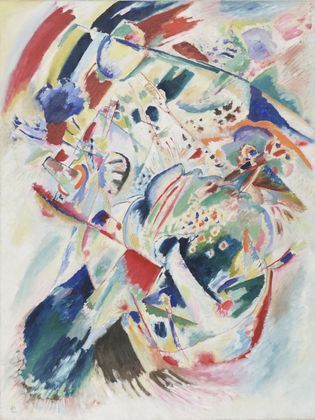
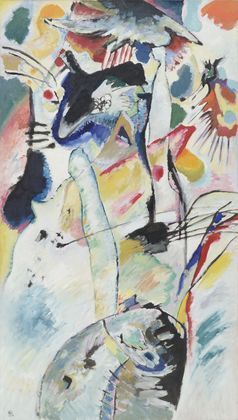
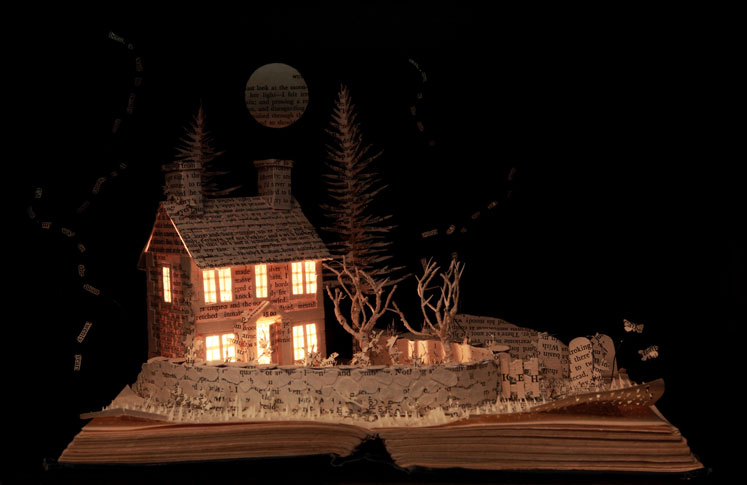
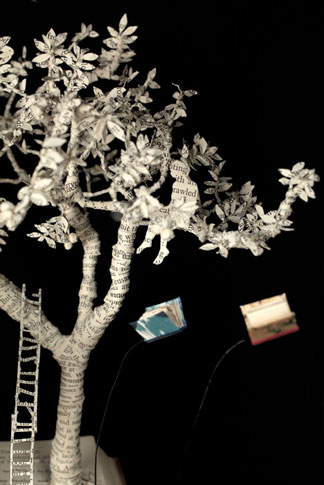
Artists to Inspire You!
You should have completed sketches of your paper bag and your secret object in your sketchbook. Now it's time to think about how to show these in an artwork!
1. Develop at least 4 thumbnail sketches showing different compositions of how you plan to draw your bag and object together.
You should consider:
- What is the meaning of your object? Of the bag?
- How should it be related to the bag?
- How can you metaphorically show your object and bag?
- How can you place the bag and object in an interesting perspective in your composition?
- Will you need to alter the bag and/or object?
- How does light and shadow affect your composition and arrangement?
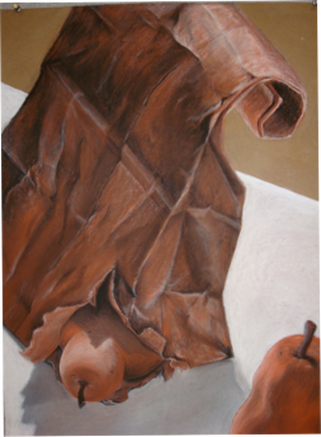
2. Become familiar with conte crayons. Use the small brown paper and two shades of brown with black and white to practice shading a section of your bag. Get a feel for the two different values, how they blend, make marks and mix. Develop a style.
3. Lay out your final composition on the large brown paper lightly in pencil.
Before using conte, ask yourself these questions:
- Is the composition strong (challenge, fill the page, depth, design)?
- Do I have good lighting and shadows?
- Have I thought about the background and staging (GT students are expected to push this further)?
- How will I translate my object into browns/blacks/whites?
- What style of mark making will I use?


 RSS Feed